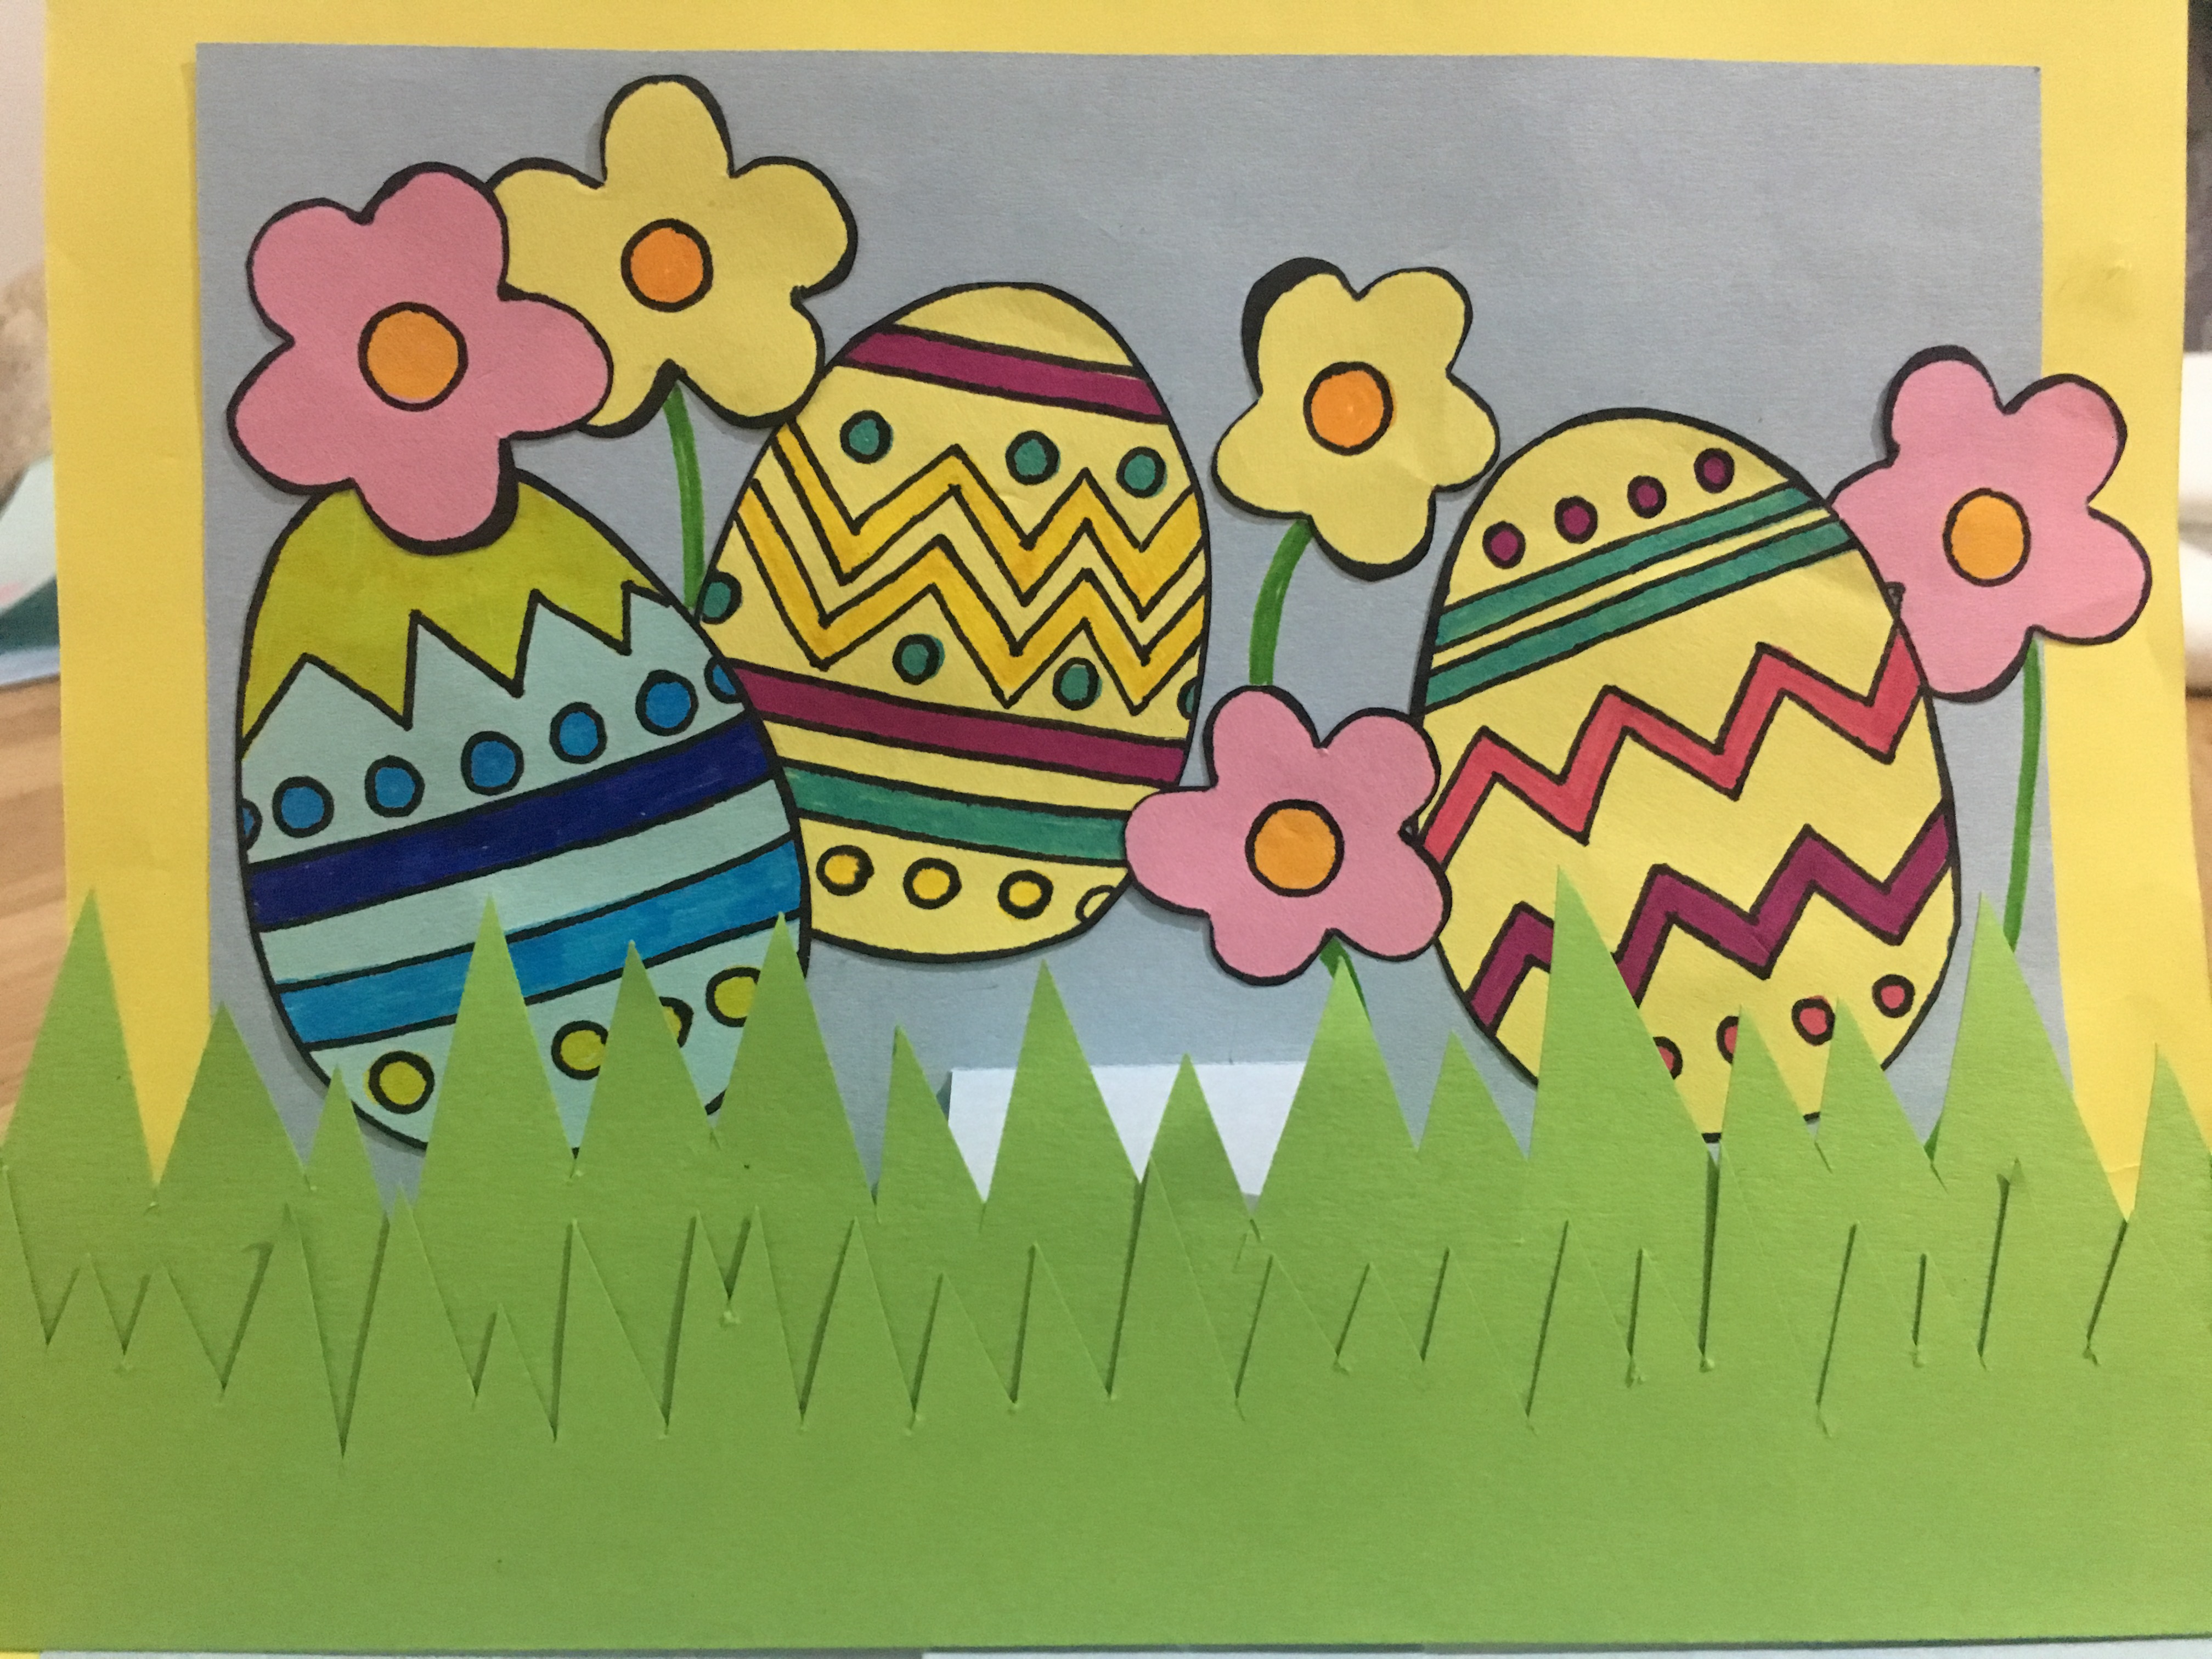
Let’s Create! – Easter pop up cards
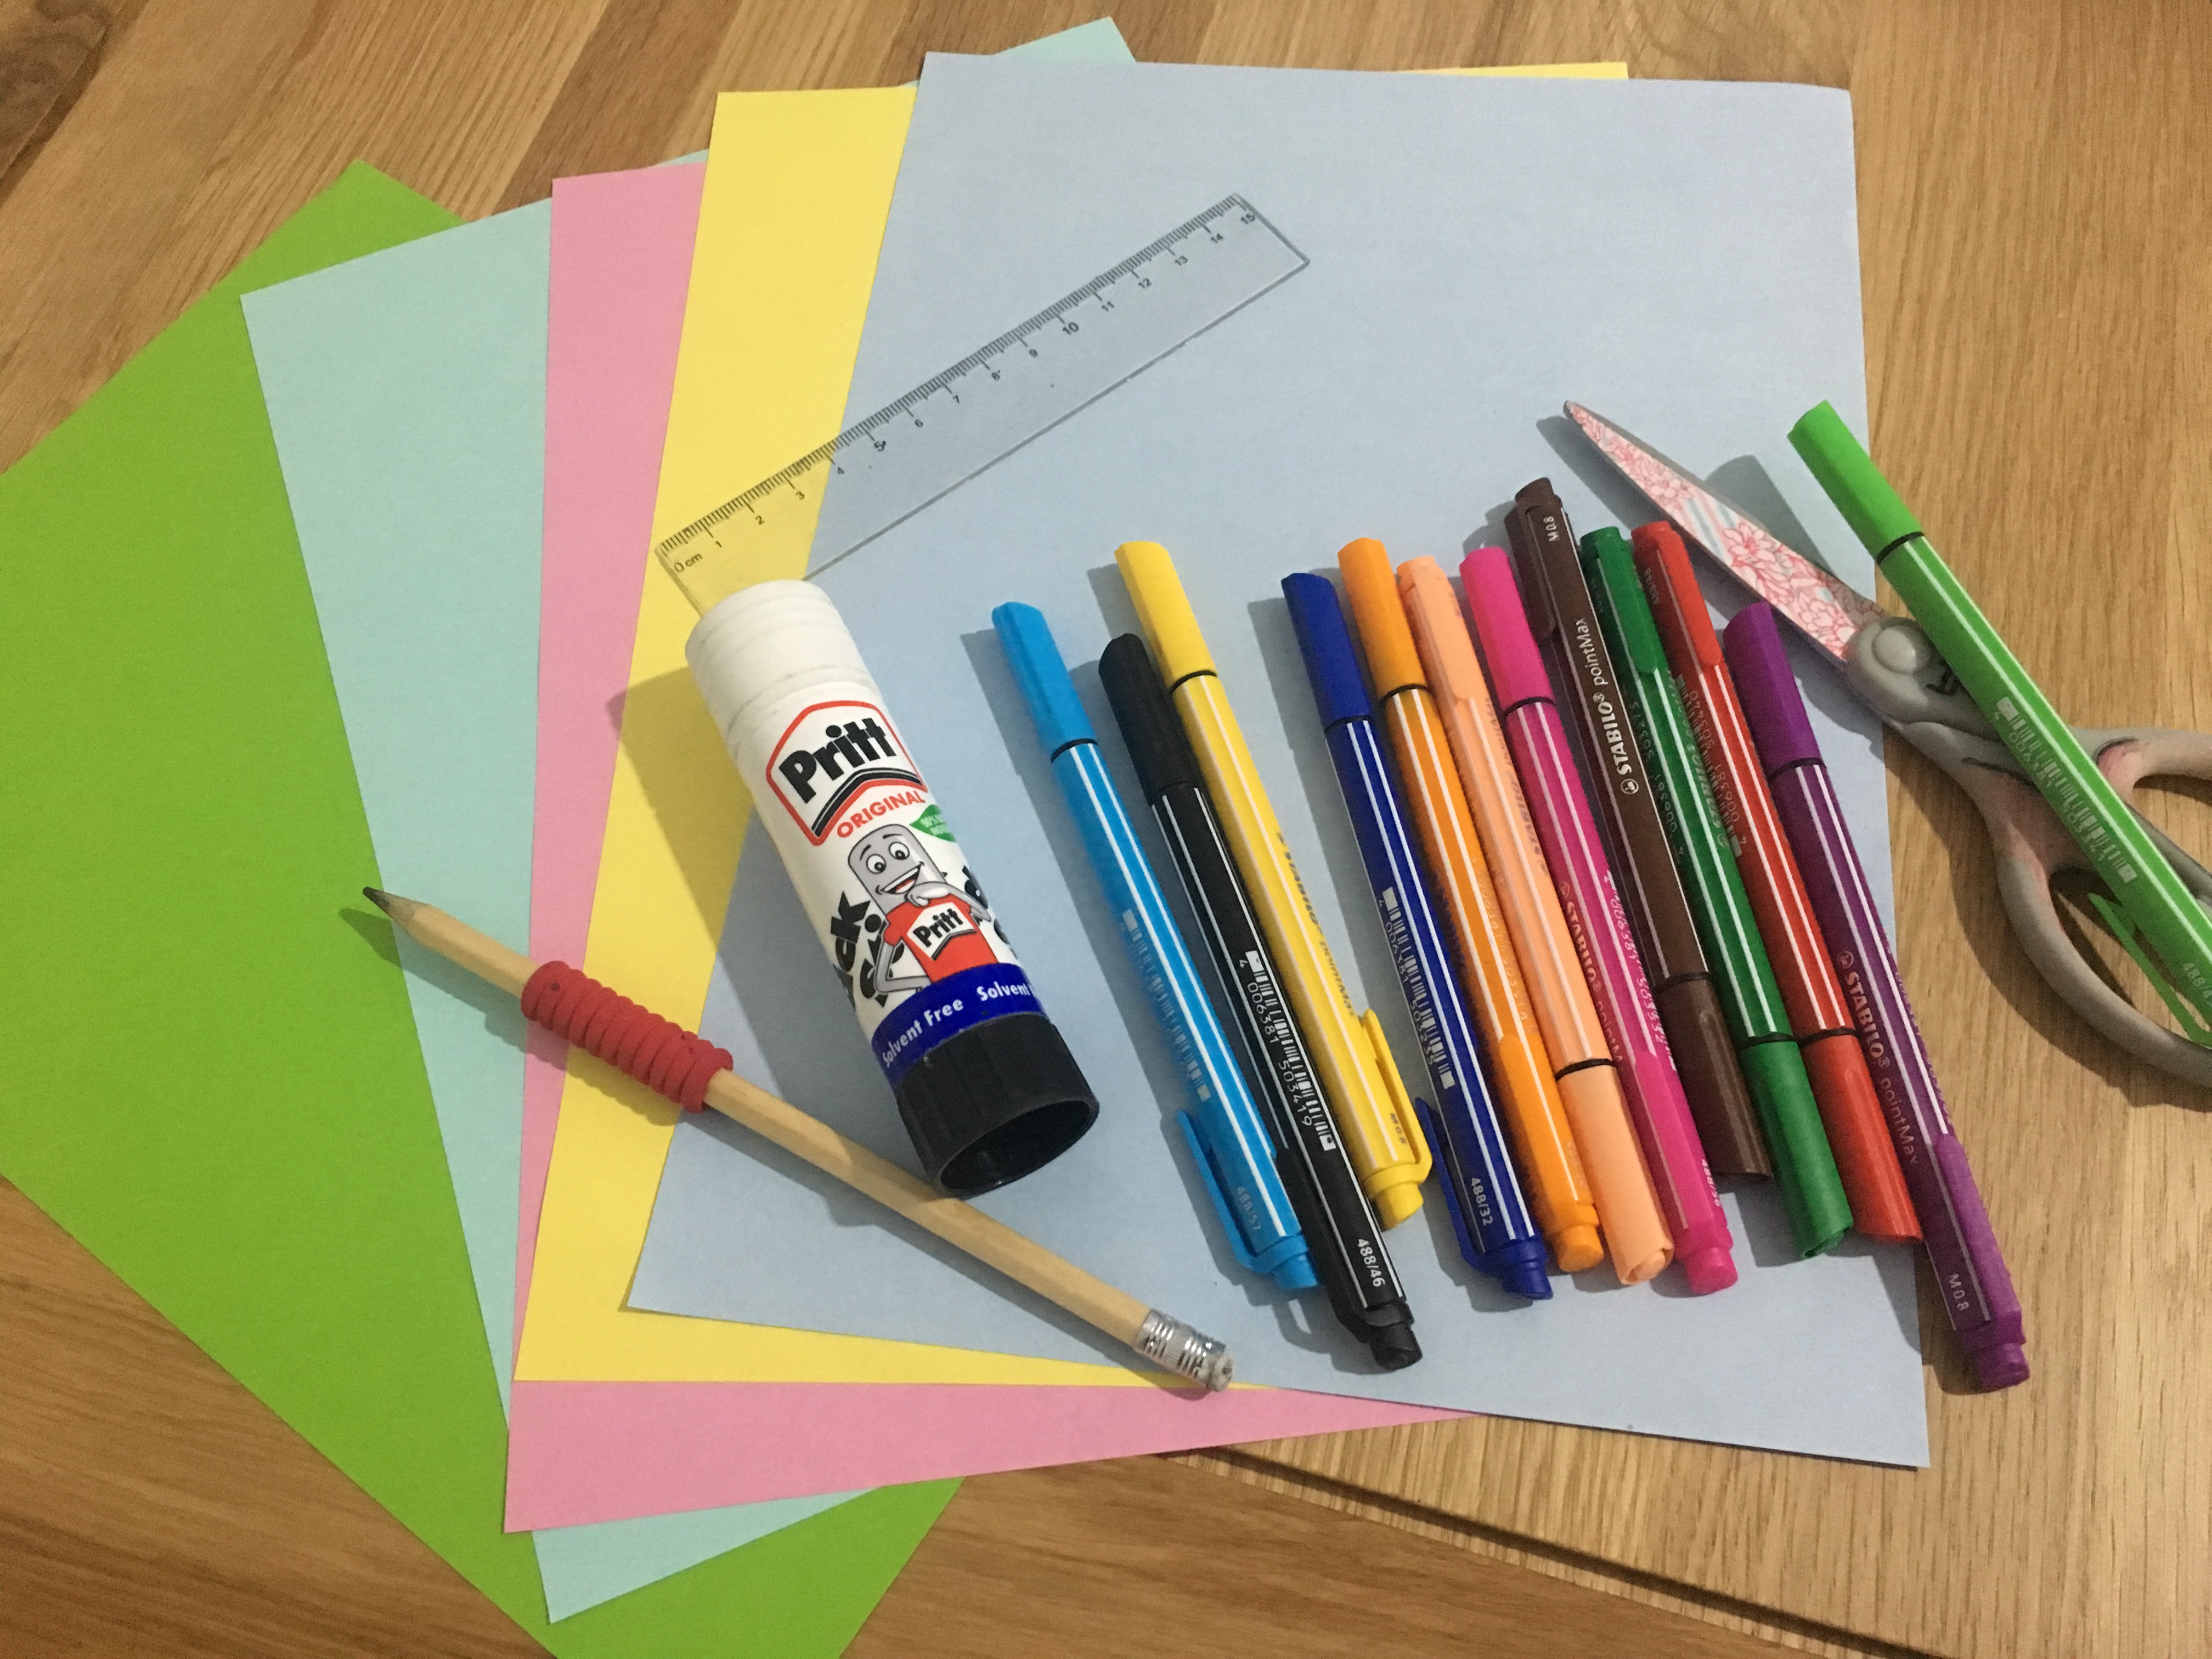
Today we will show you how to make a pop up Easter card. Follow along the steps to make your own. See the picture above with all the things you will need – remember, this series is all about being creative so you can use other materials too is you have them.
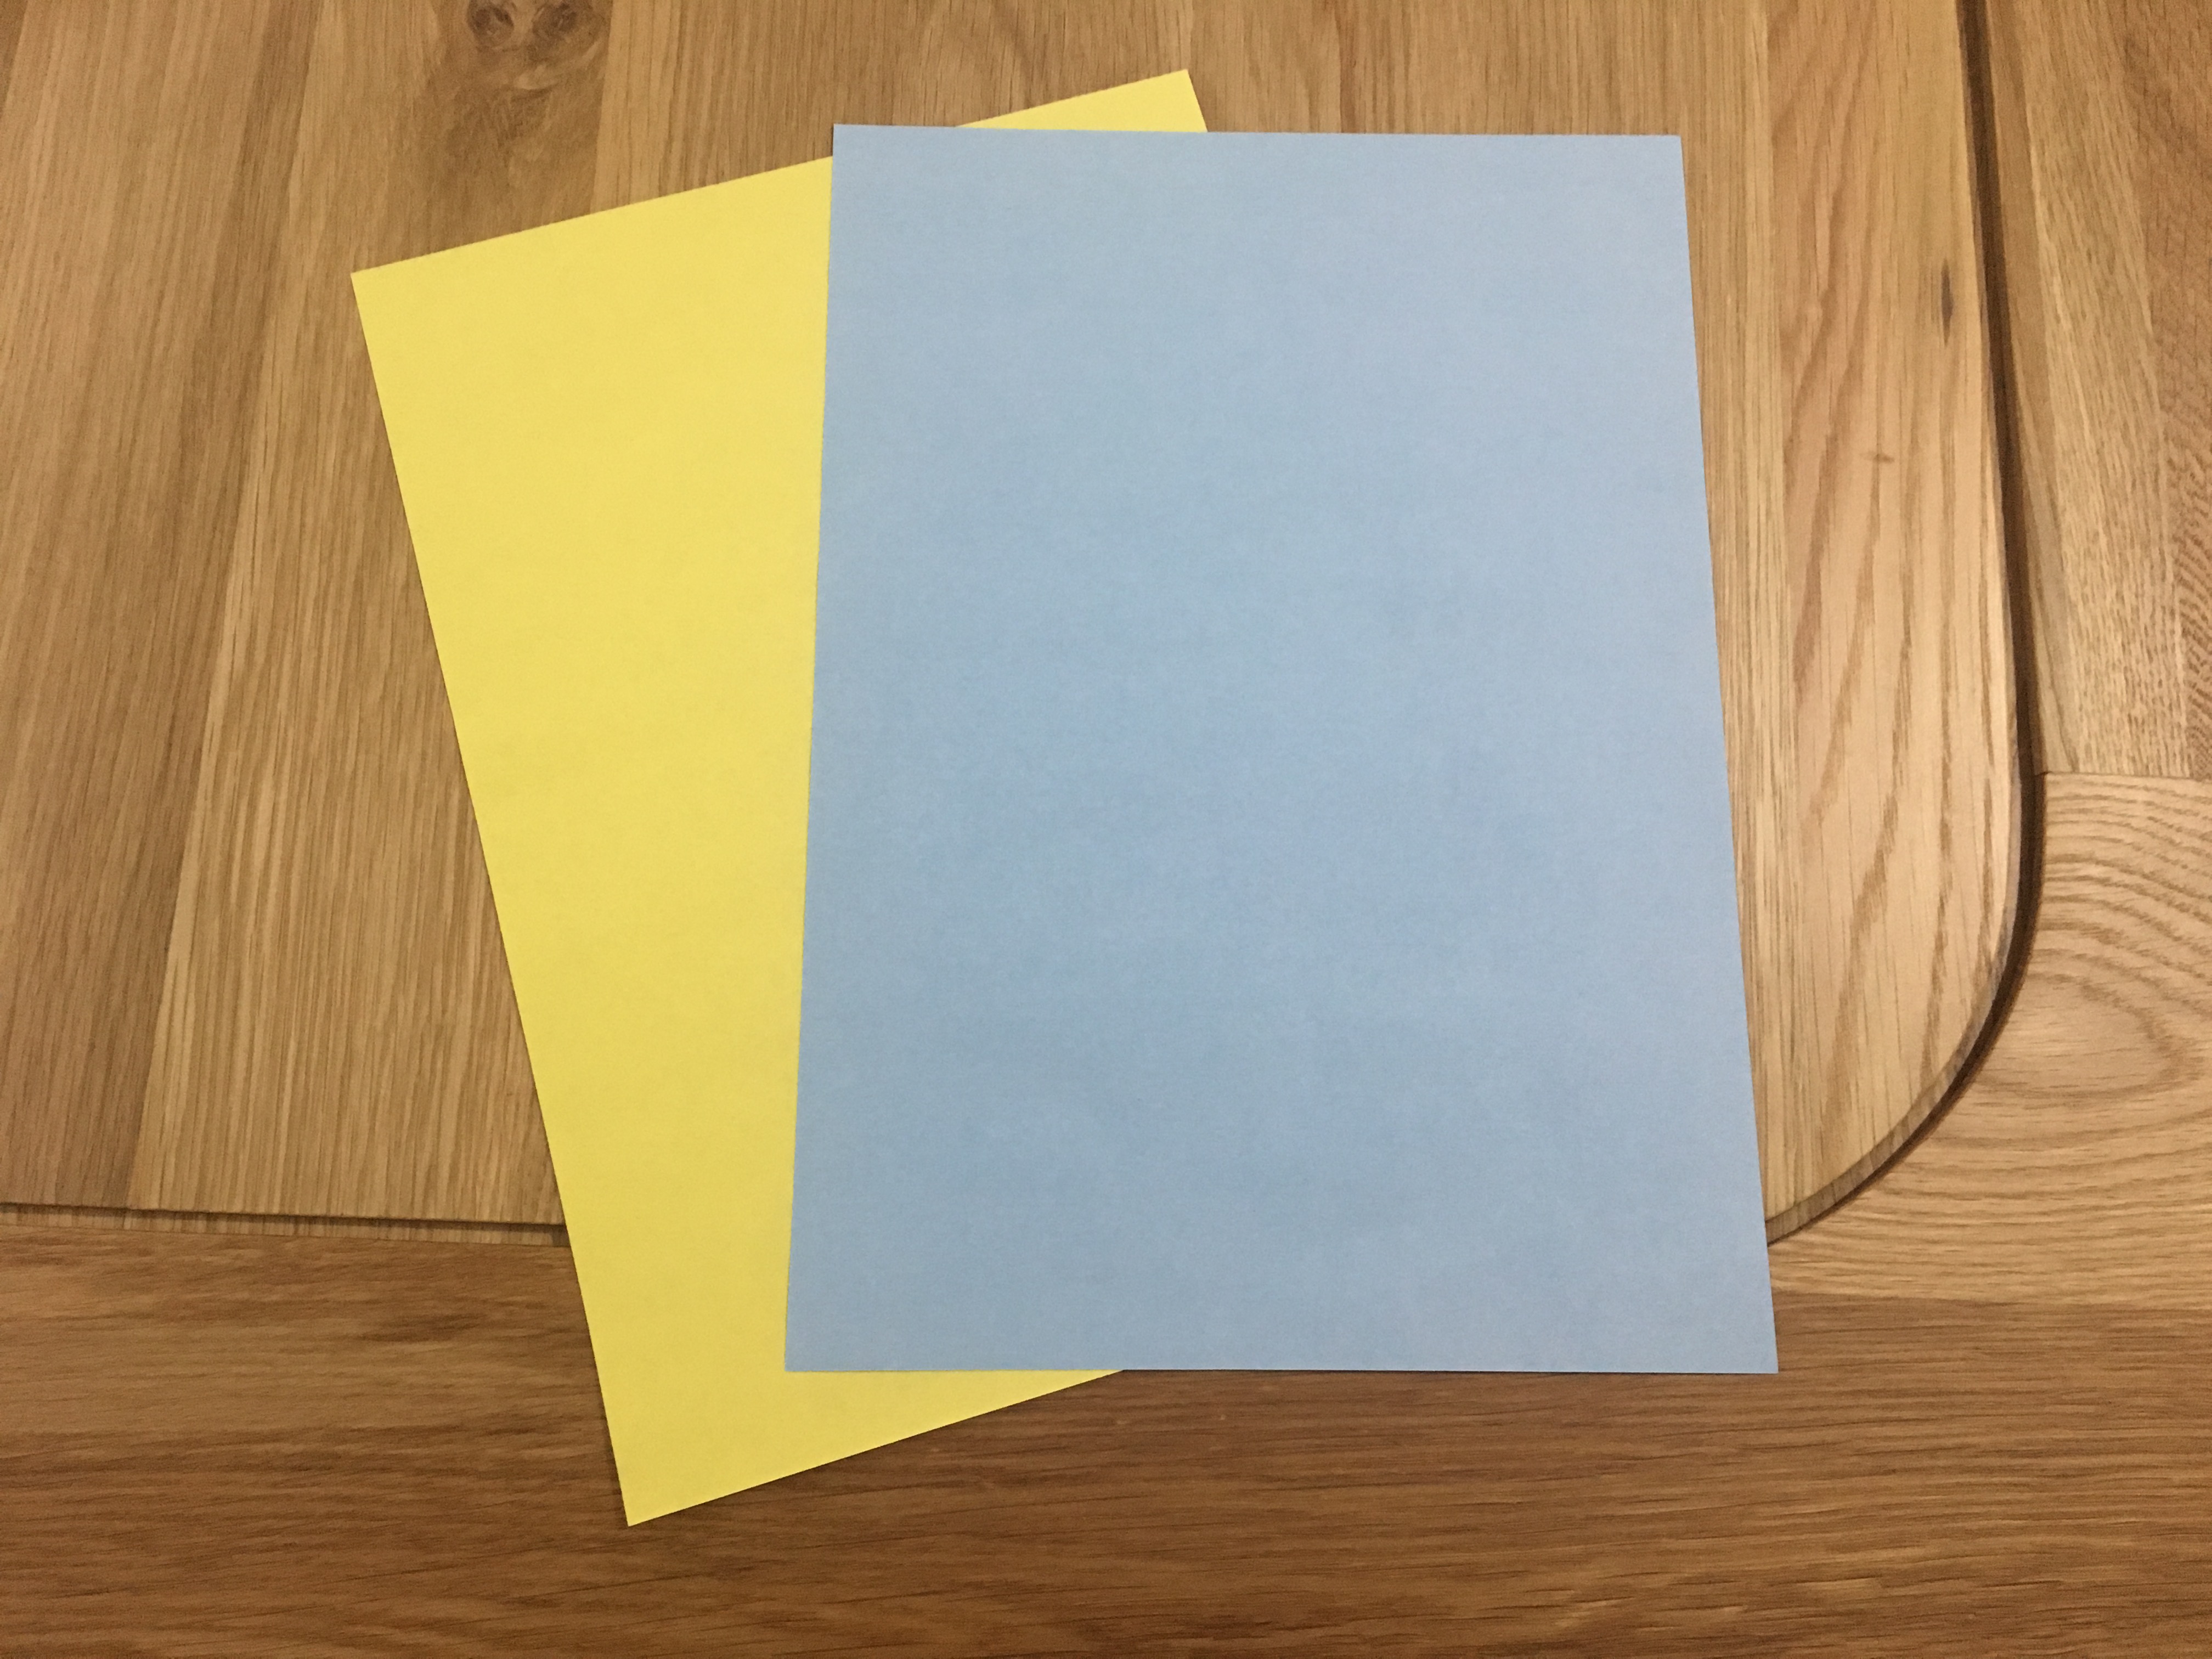
Step 1: Take two sheets of paper/card and fold in half. You don’t have to use coloured paper, you could use plain white paper instead. (Tip: Colour or paint plain white paper to brighten them up.)
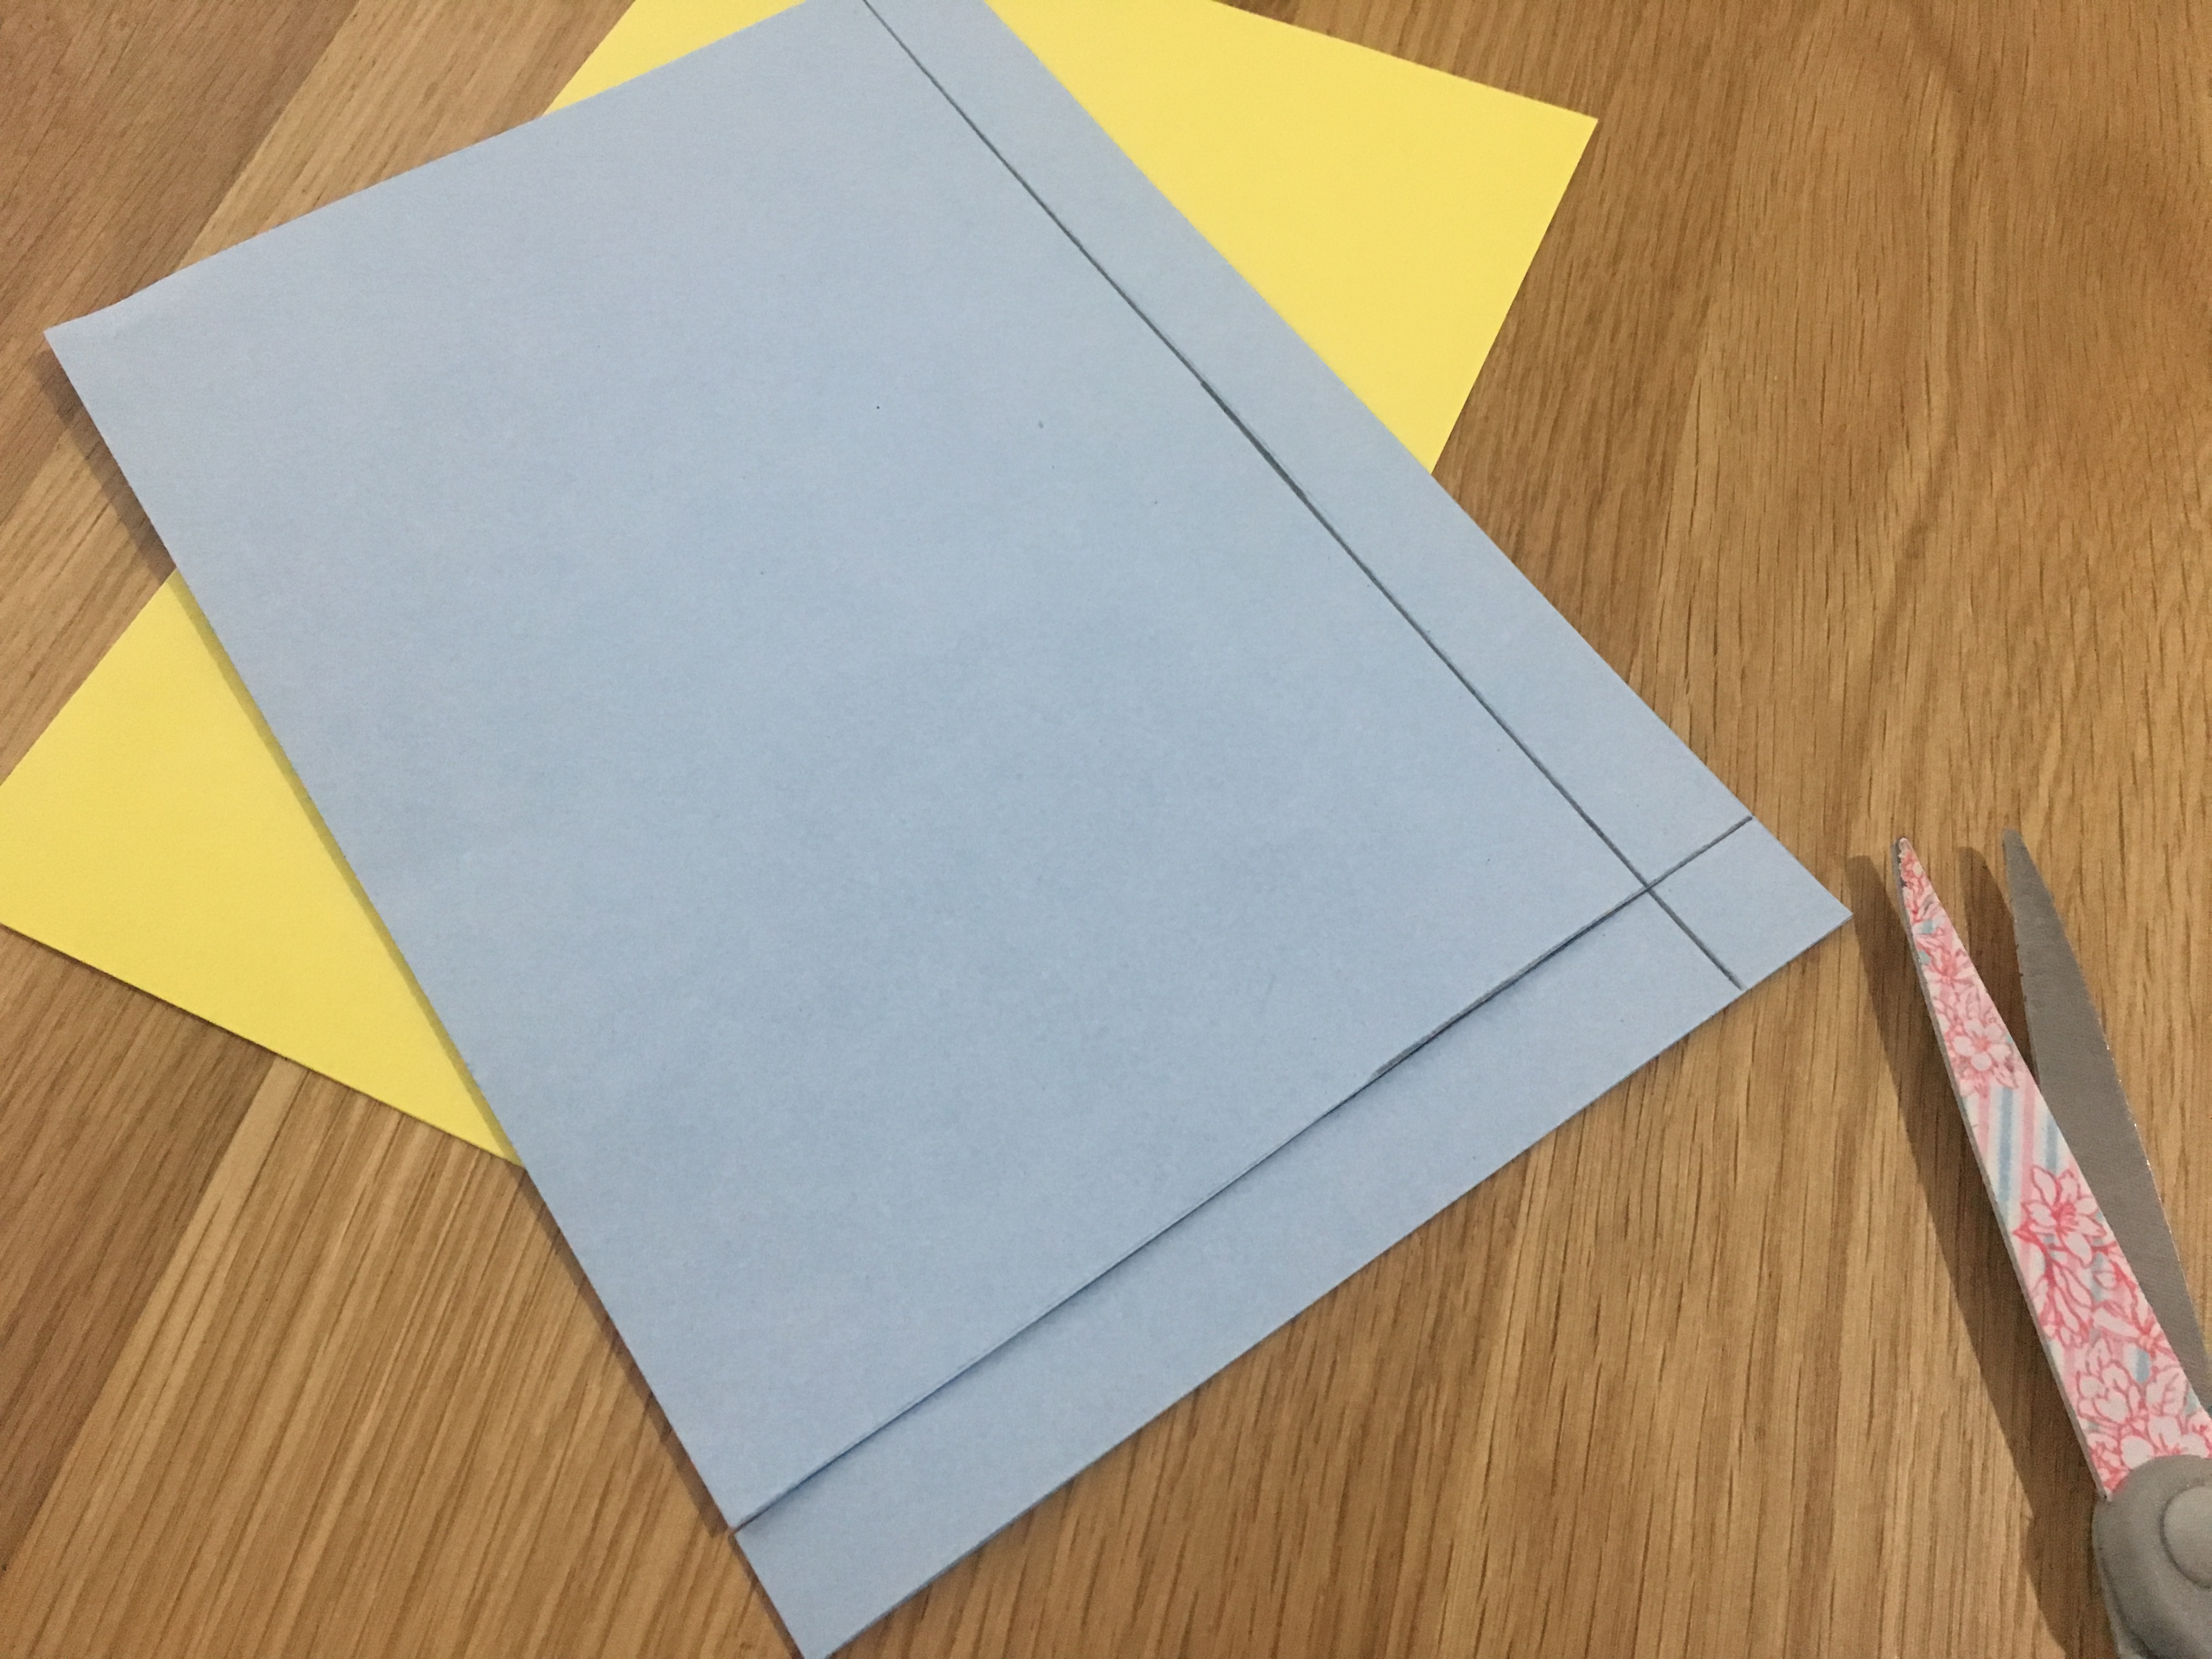
Step 2: Cut one of the pieces smaller along the length and the width, around 2cm’s each. Remember not to cut along the closed edge of paper. (Tip: Use a pencil and ruler to draw lines to cut along to make this easier.)
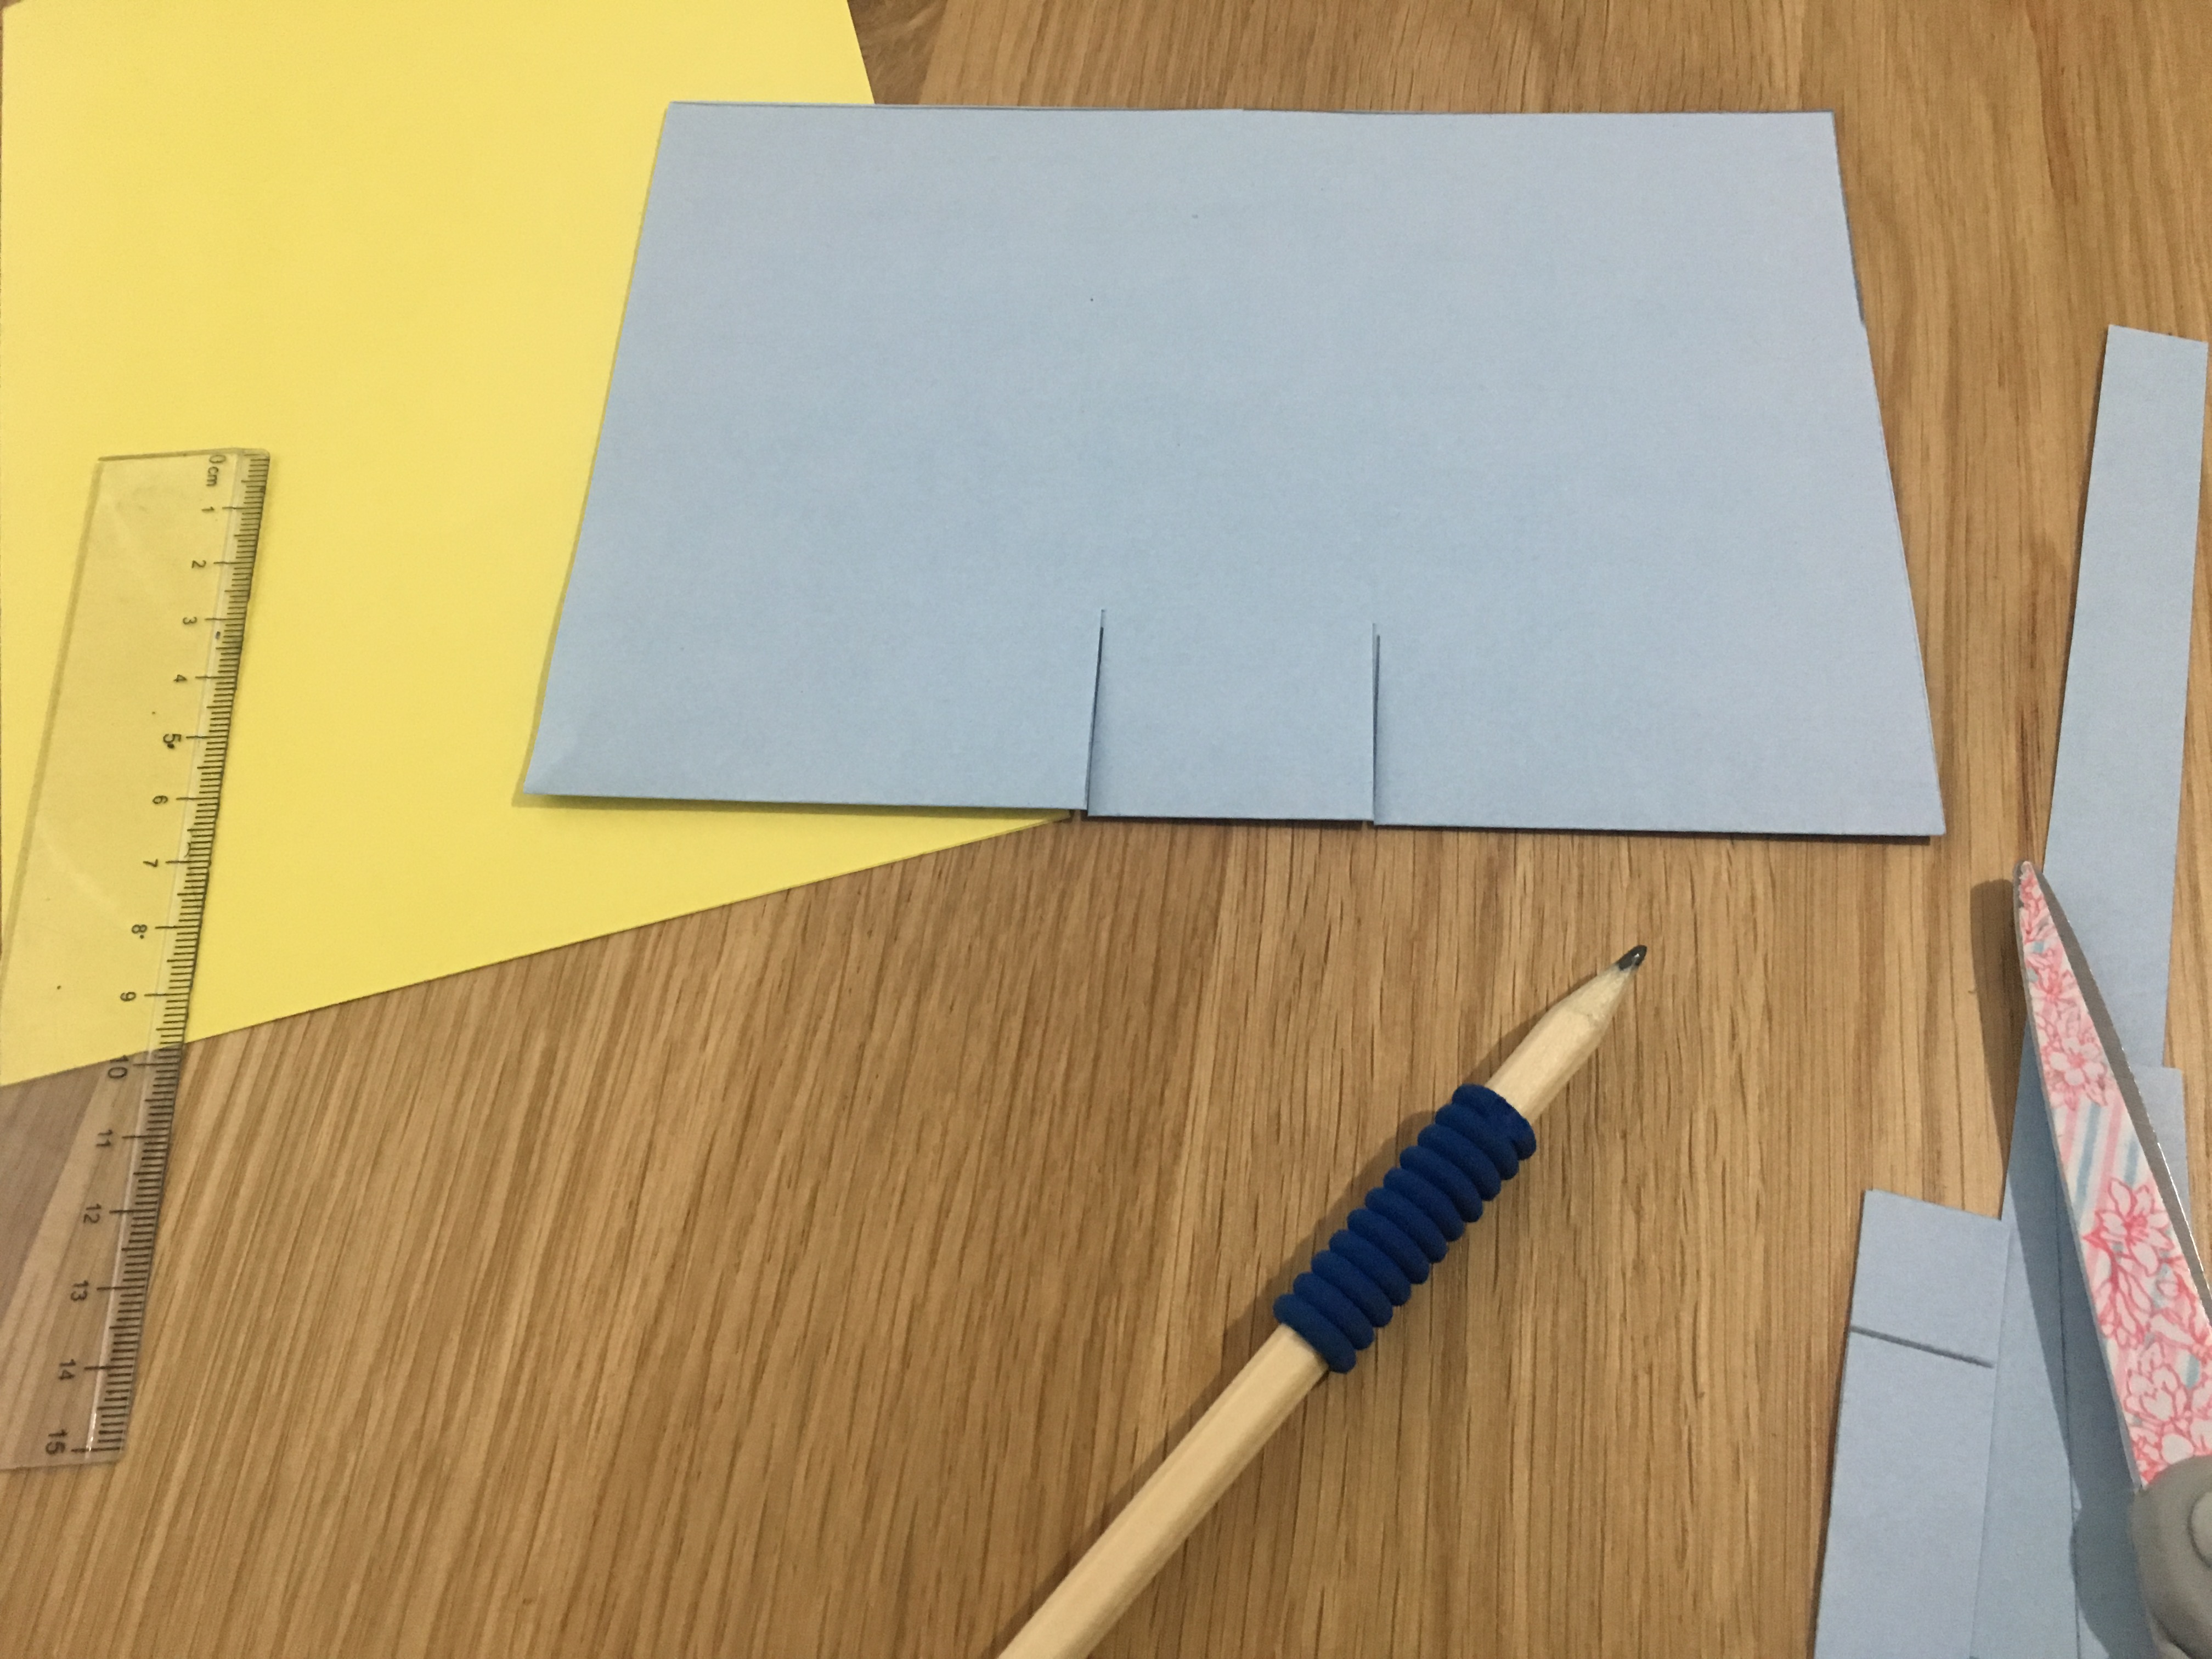
Step 3: Cut two lines around 3cm’s deep and 4cm’s apart along the closed edge of the same piece of paper. Again, you can draw lines first to help.
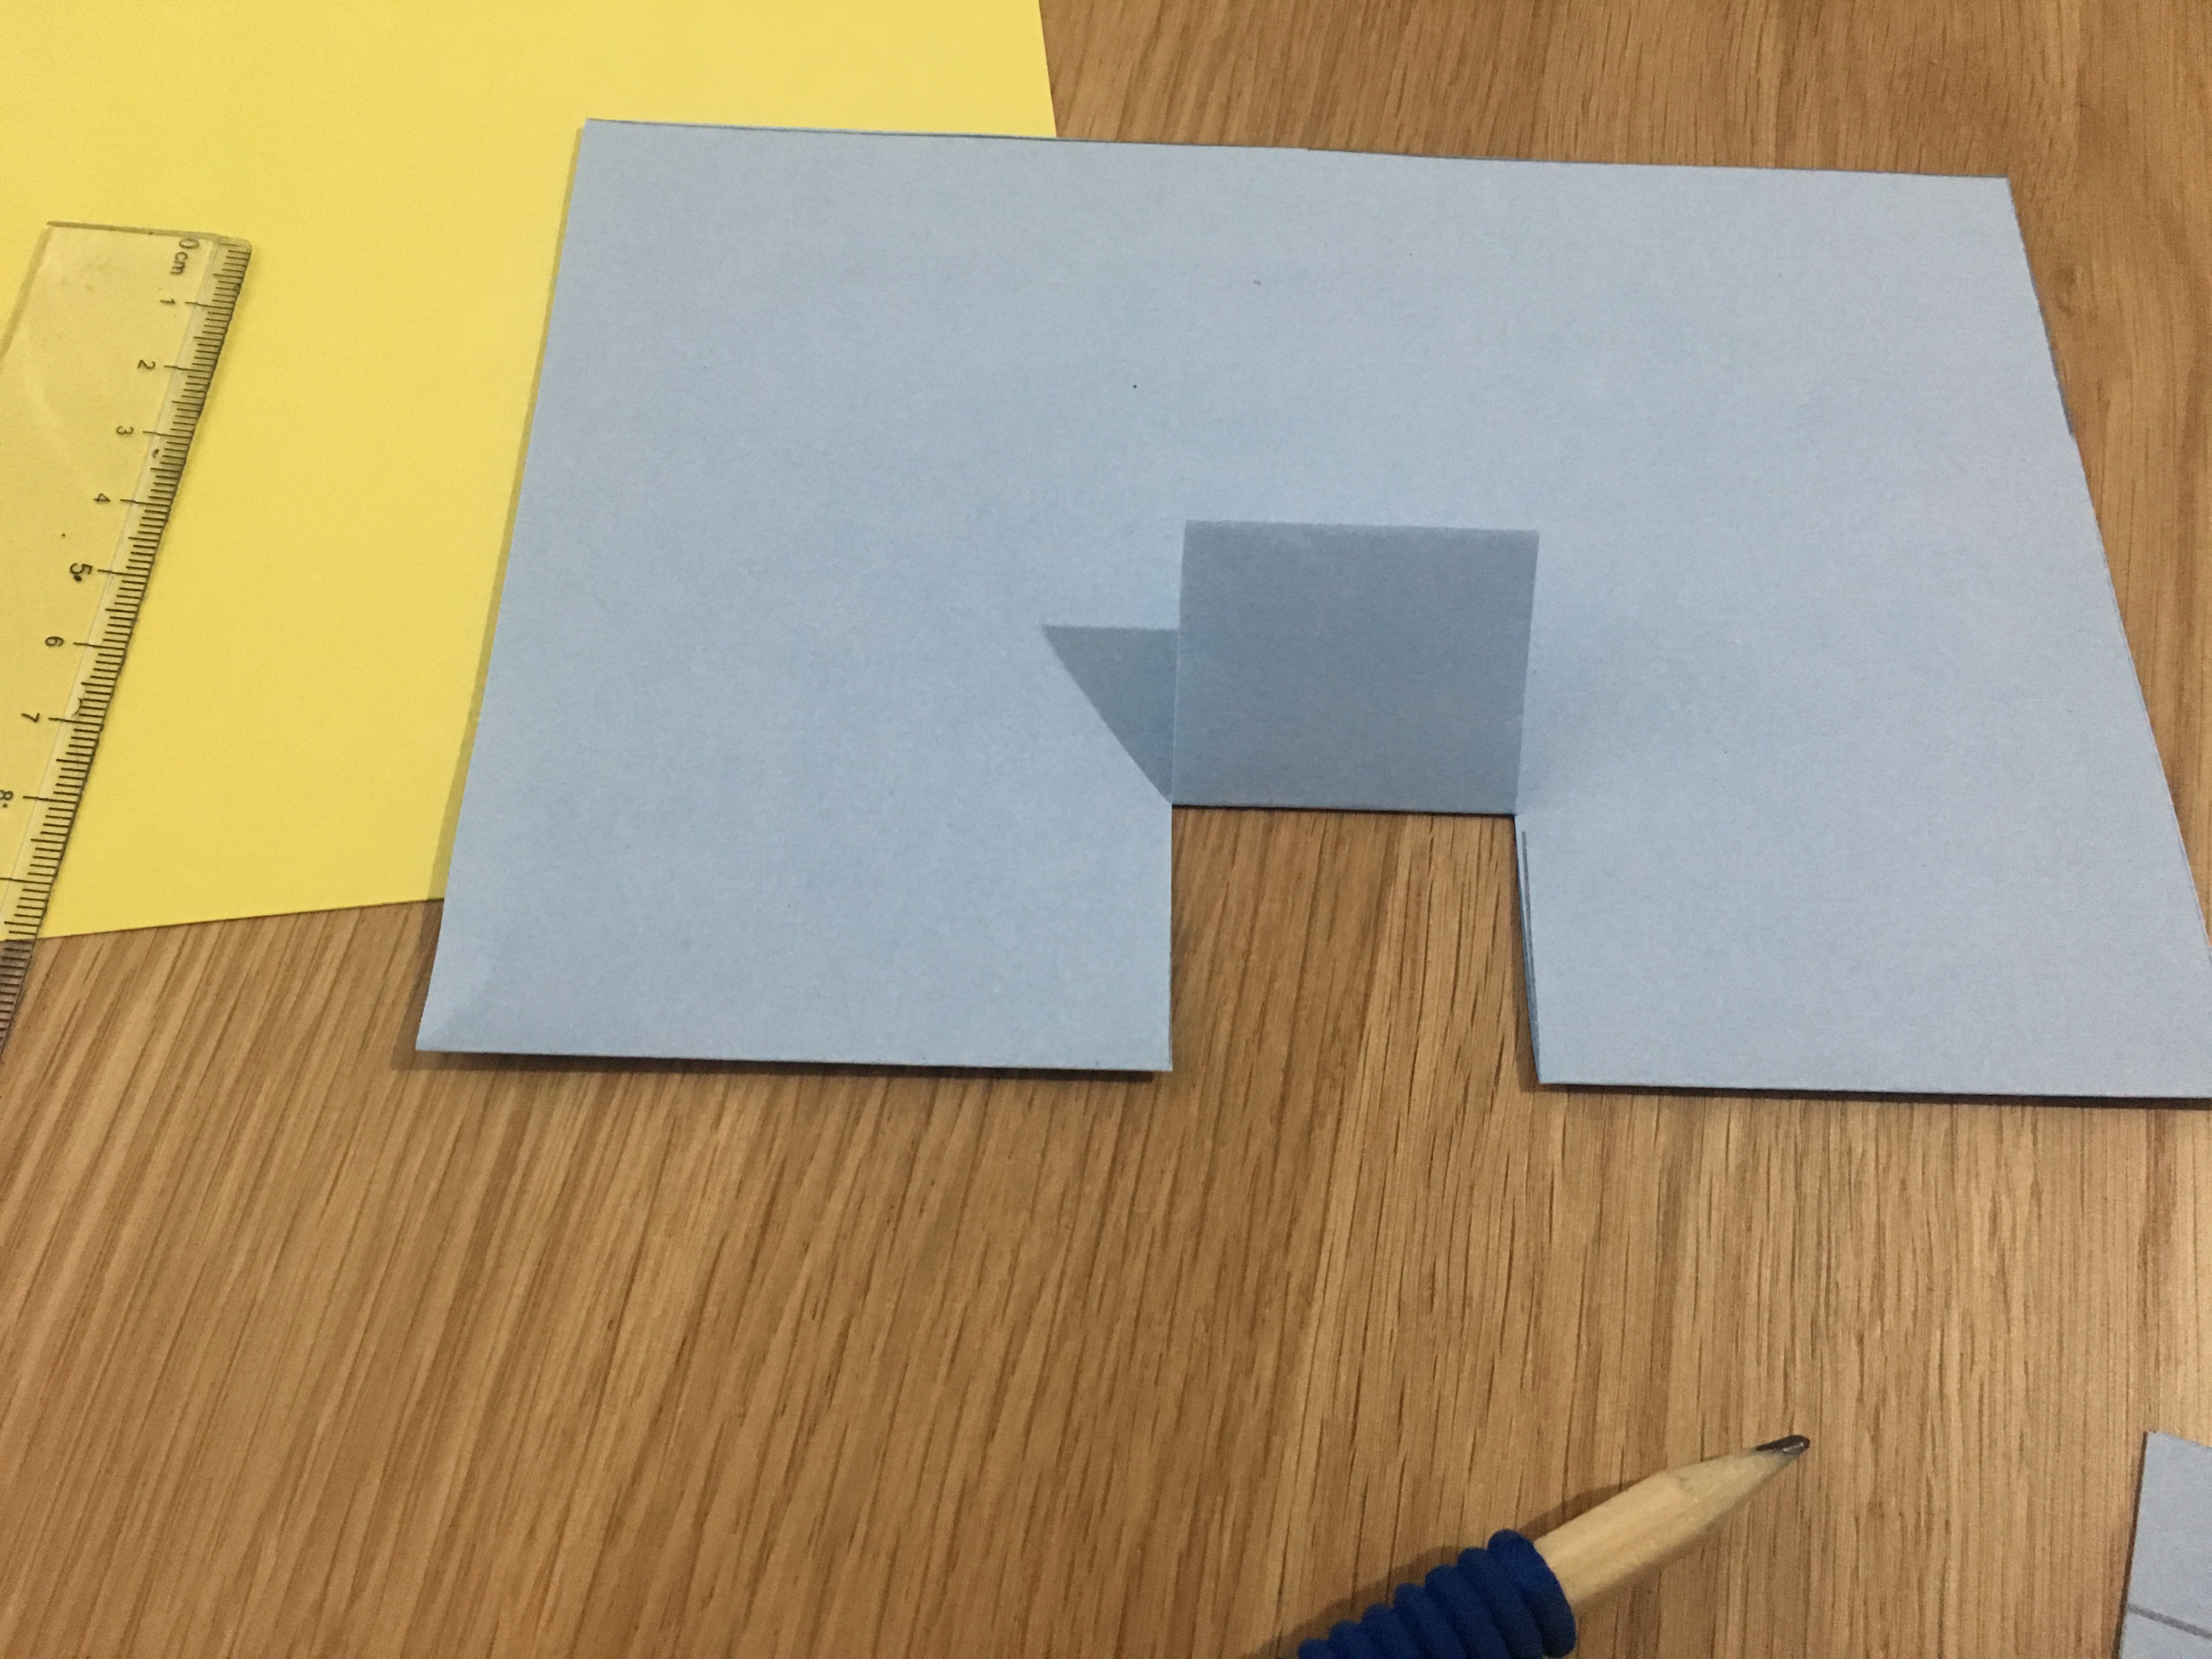
Step 4: Fold this section of paper up so it makes a flap, make sure the fold is sharp. Fold it back down again for the next step.
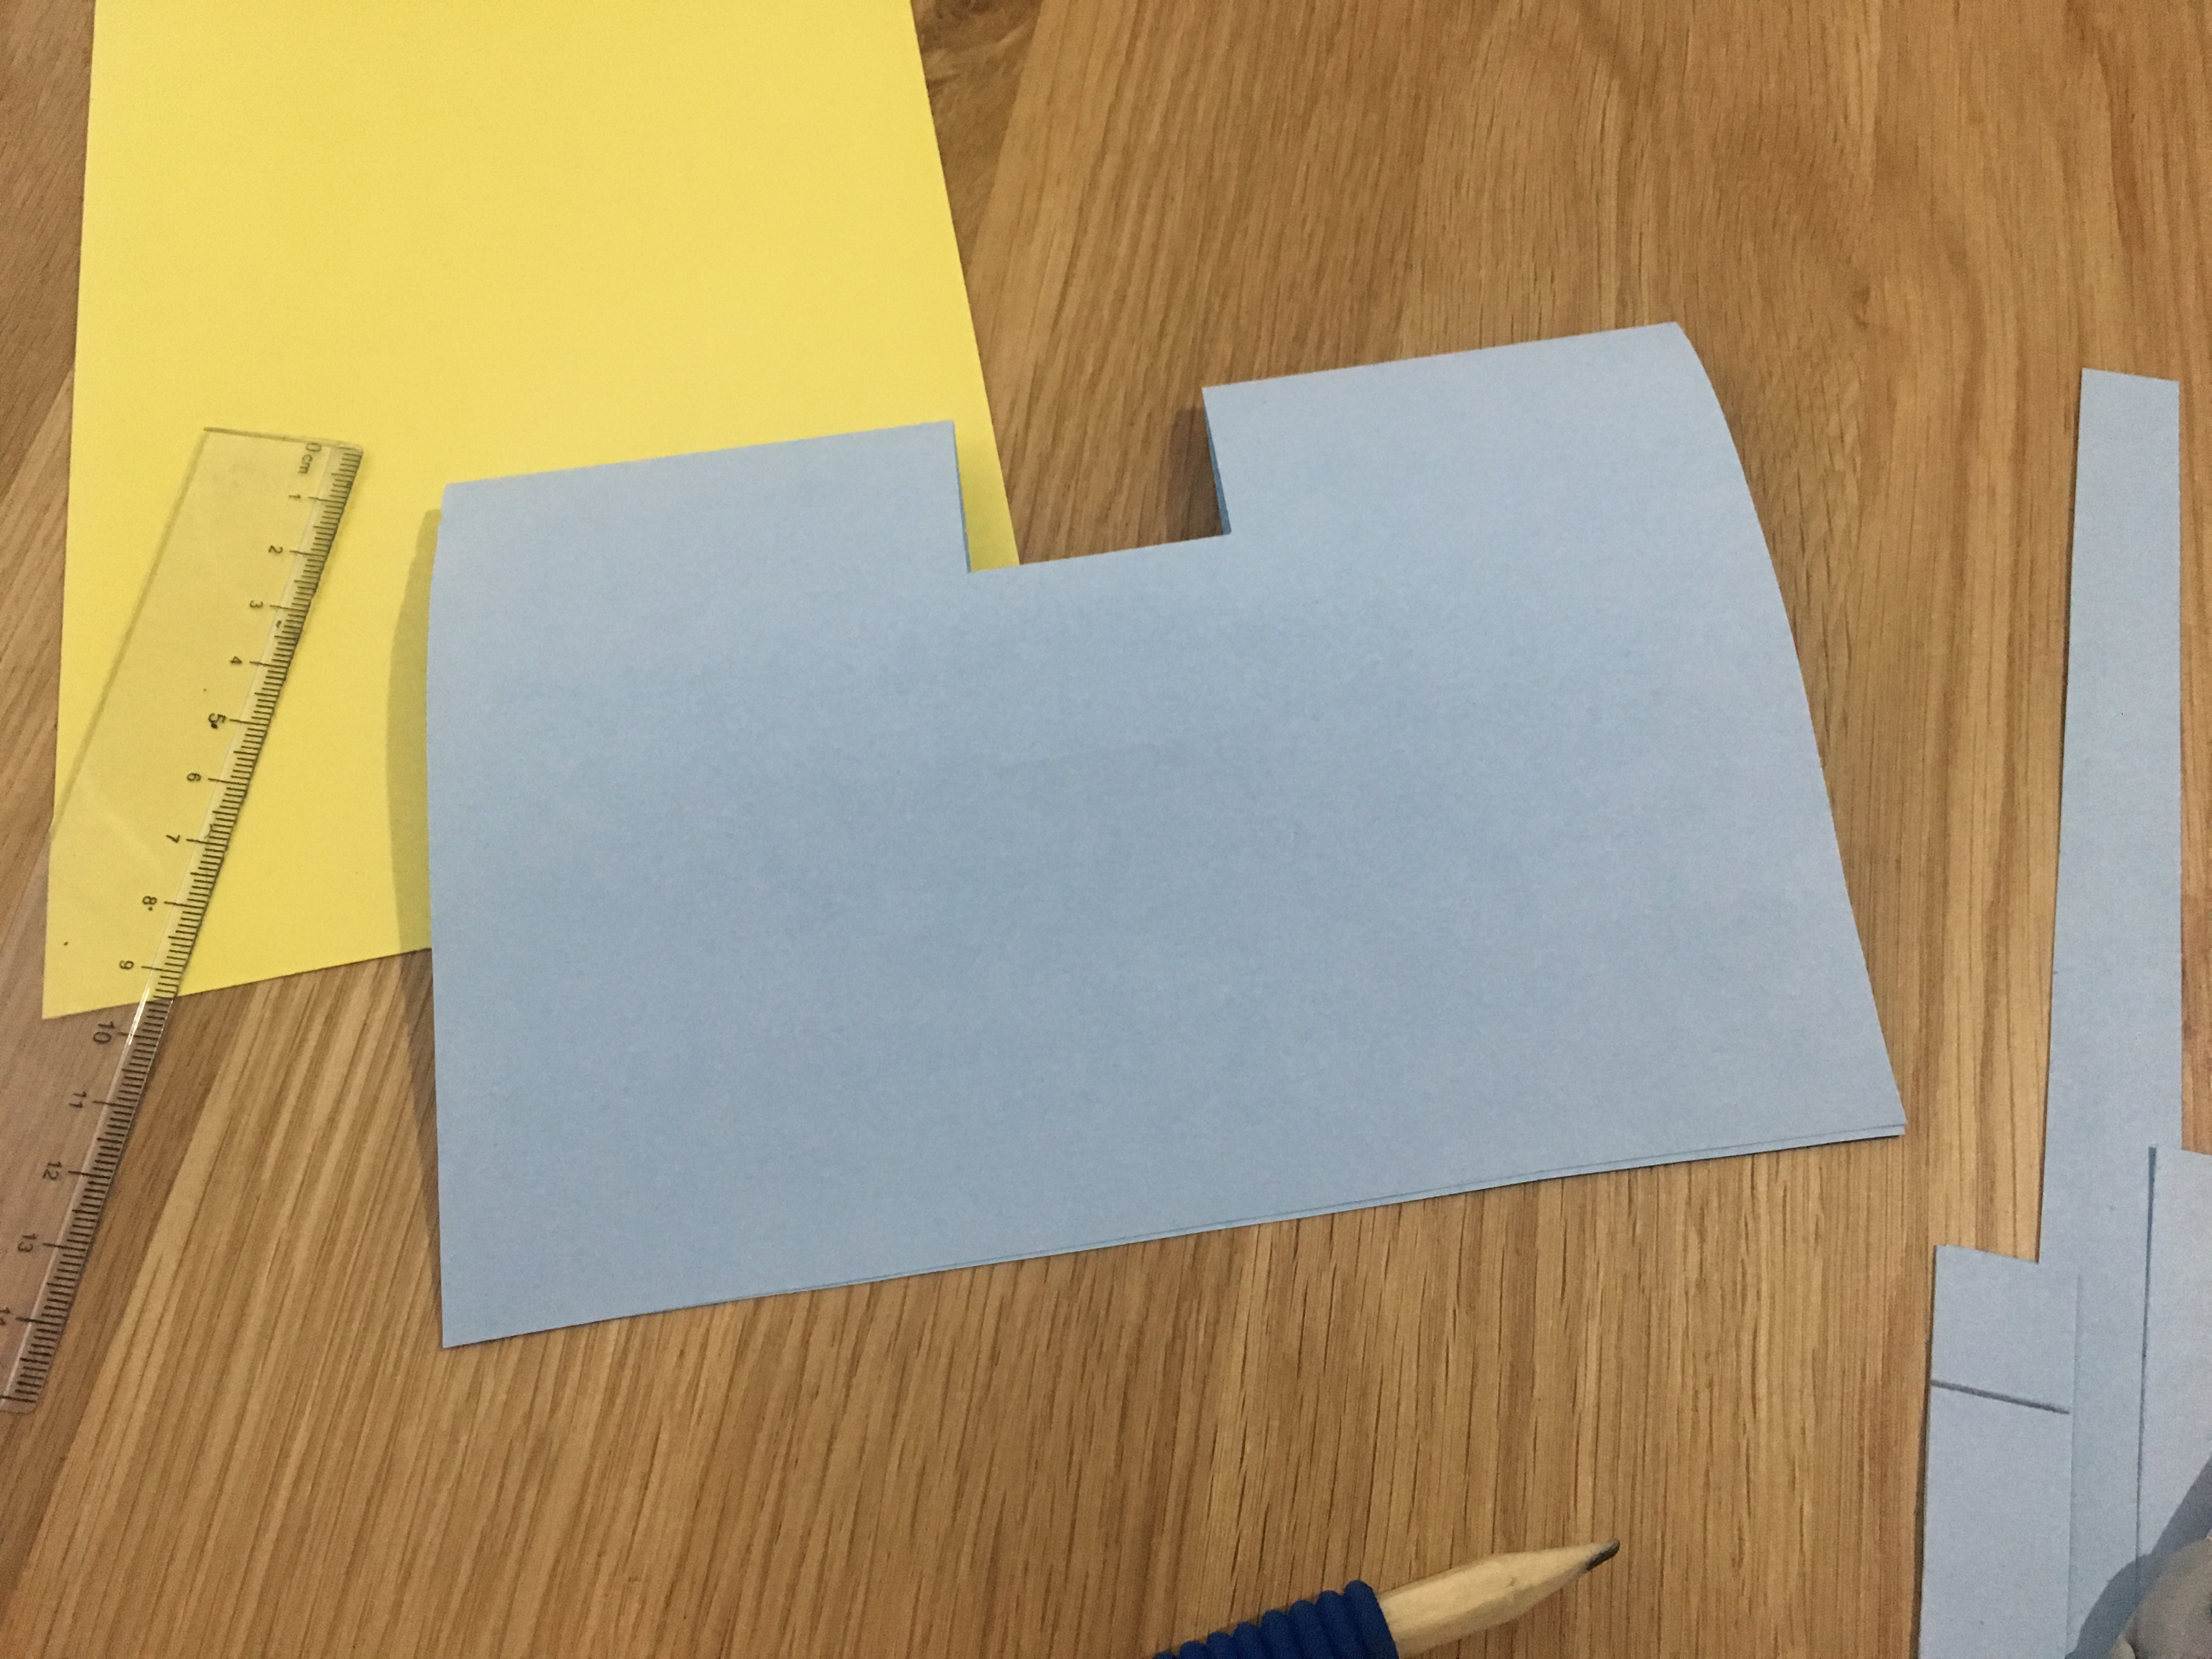
Step 5: Open up the piece of paper and push in the flap so its on the inside when you close the paper again.
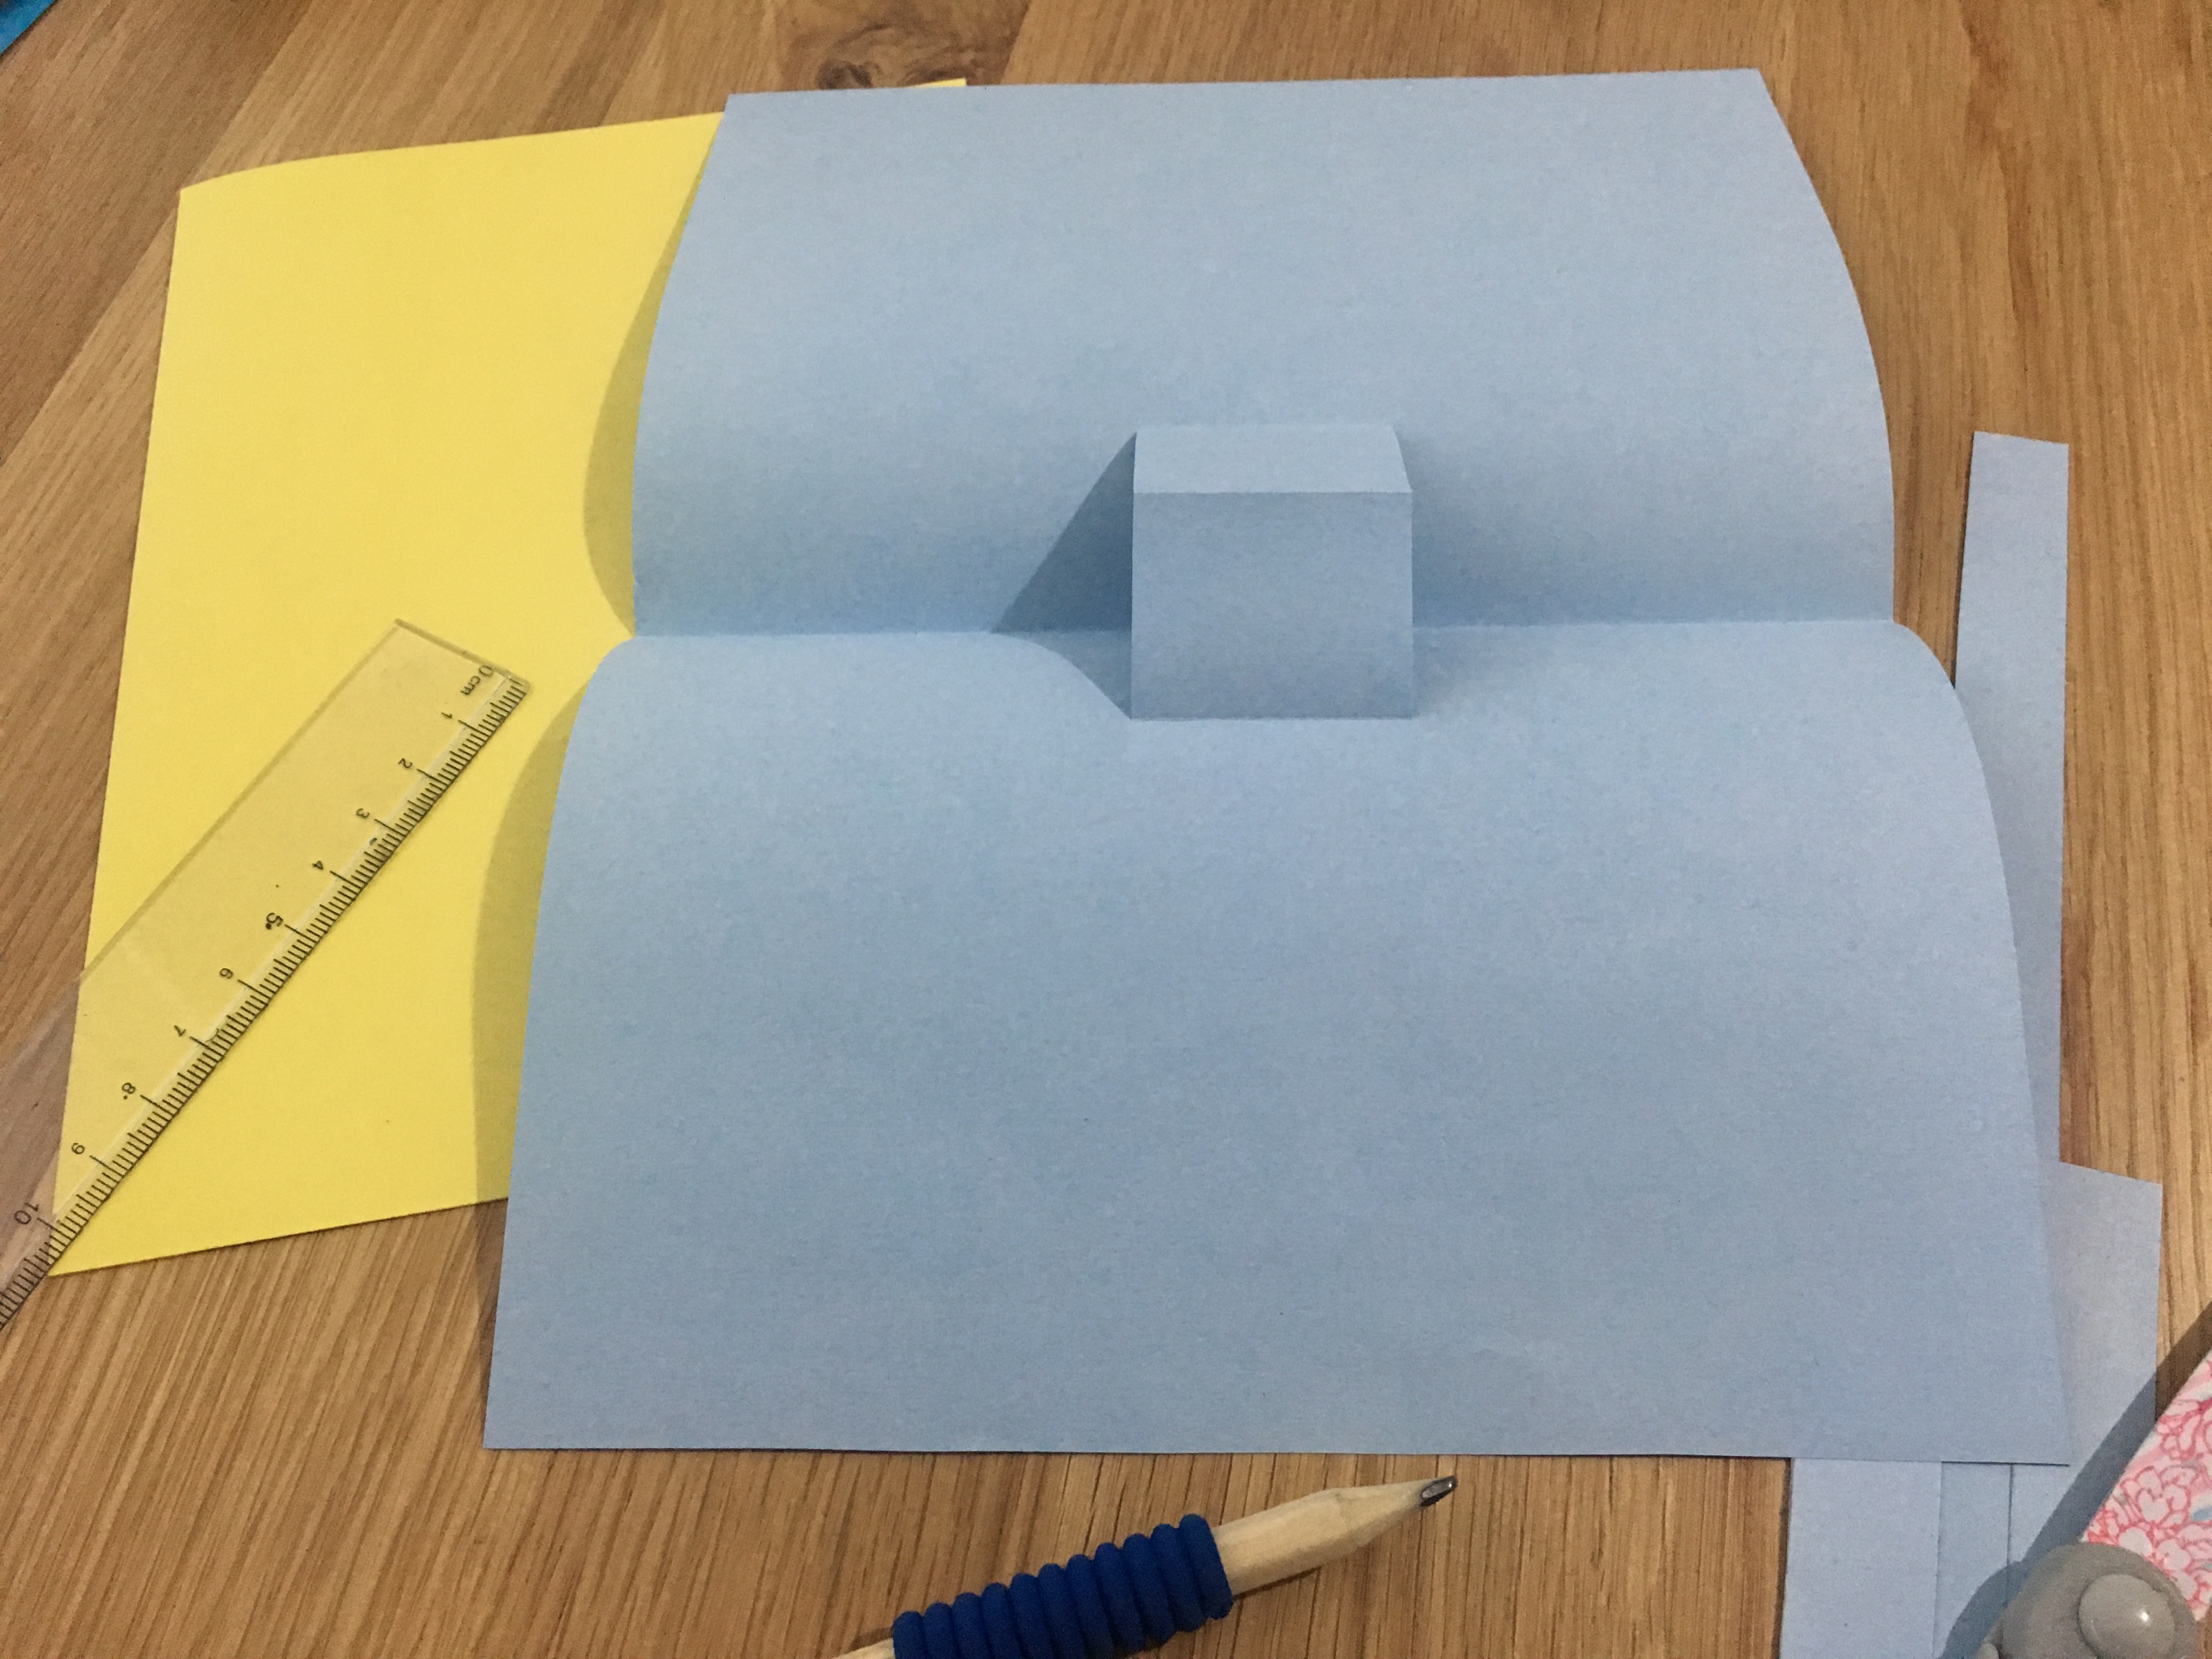
Step 6: Open up the paper and sharpen the fold of the flap so it looks like a box.
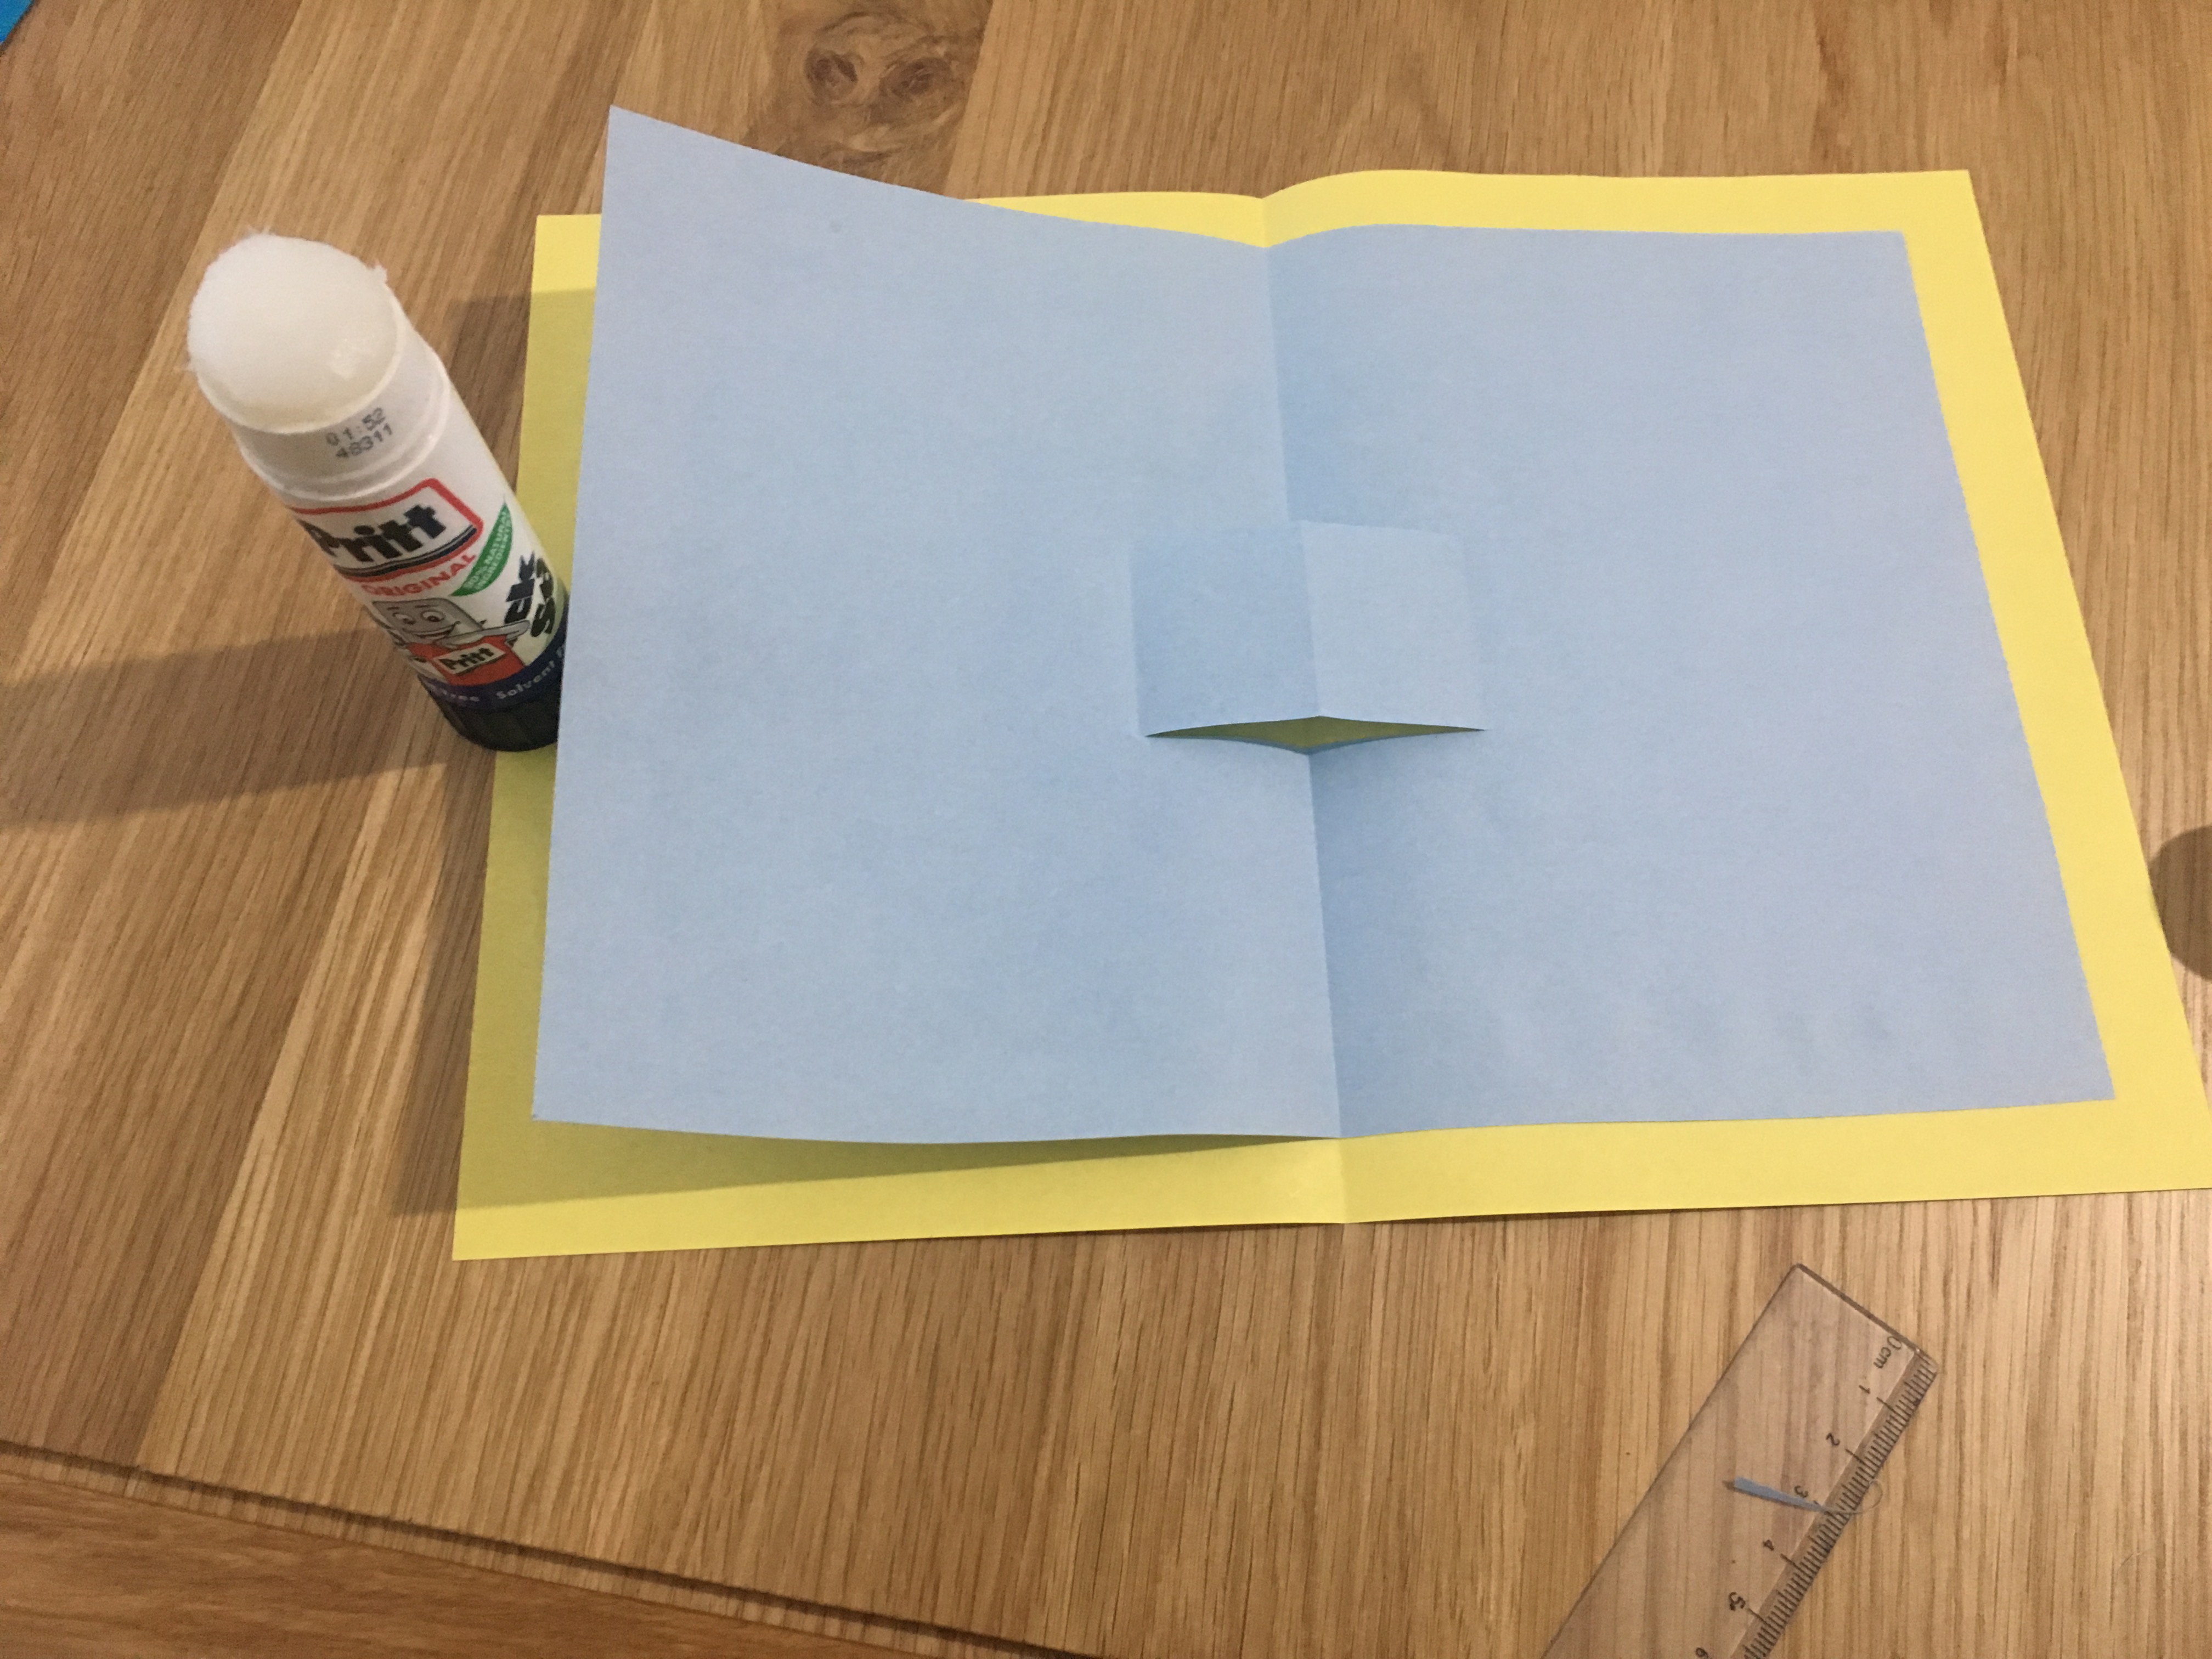
Step 7: Open up the other piece of paper and stick the one with the flap inside. (Careful not to stick the flap down.)
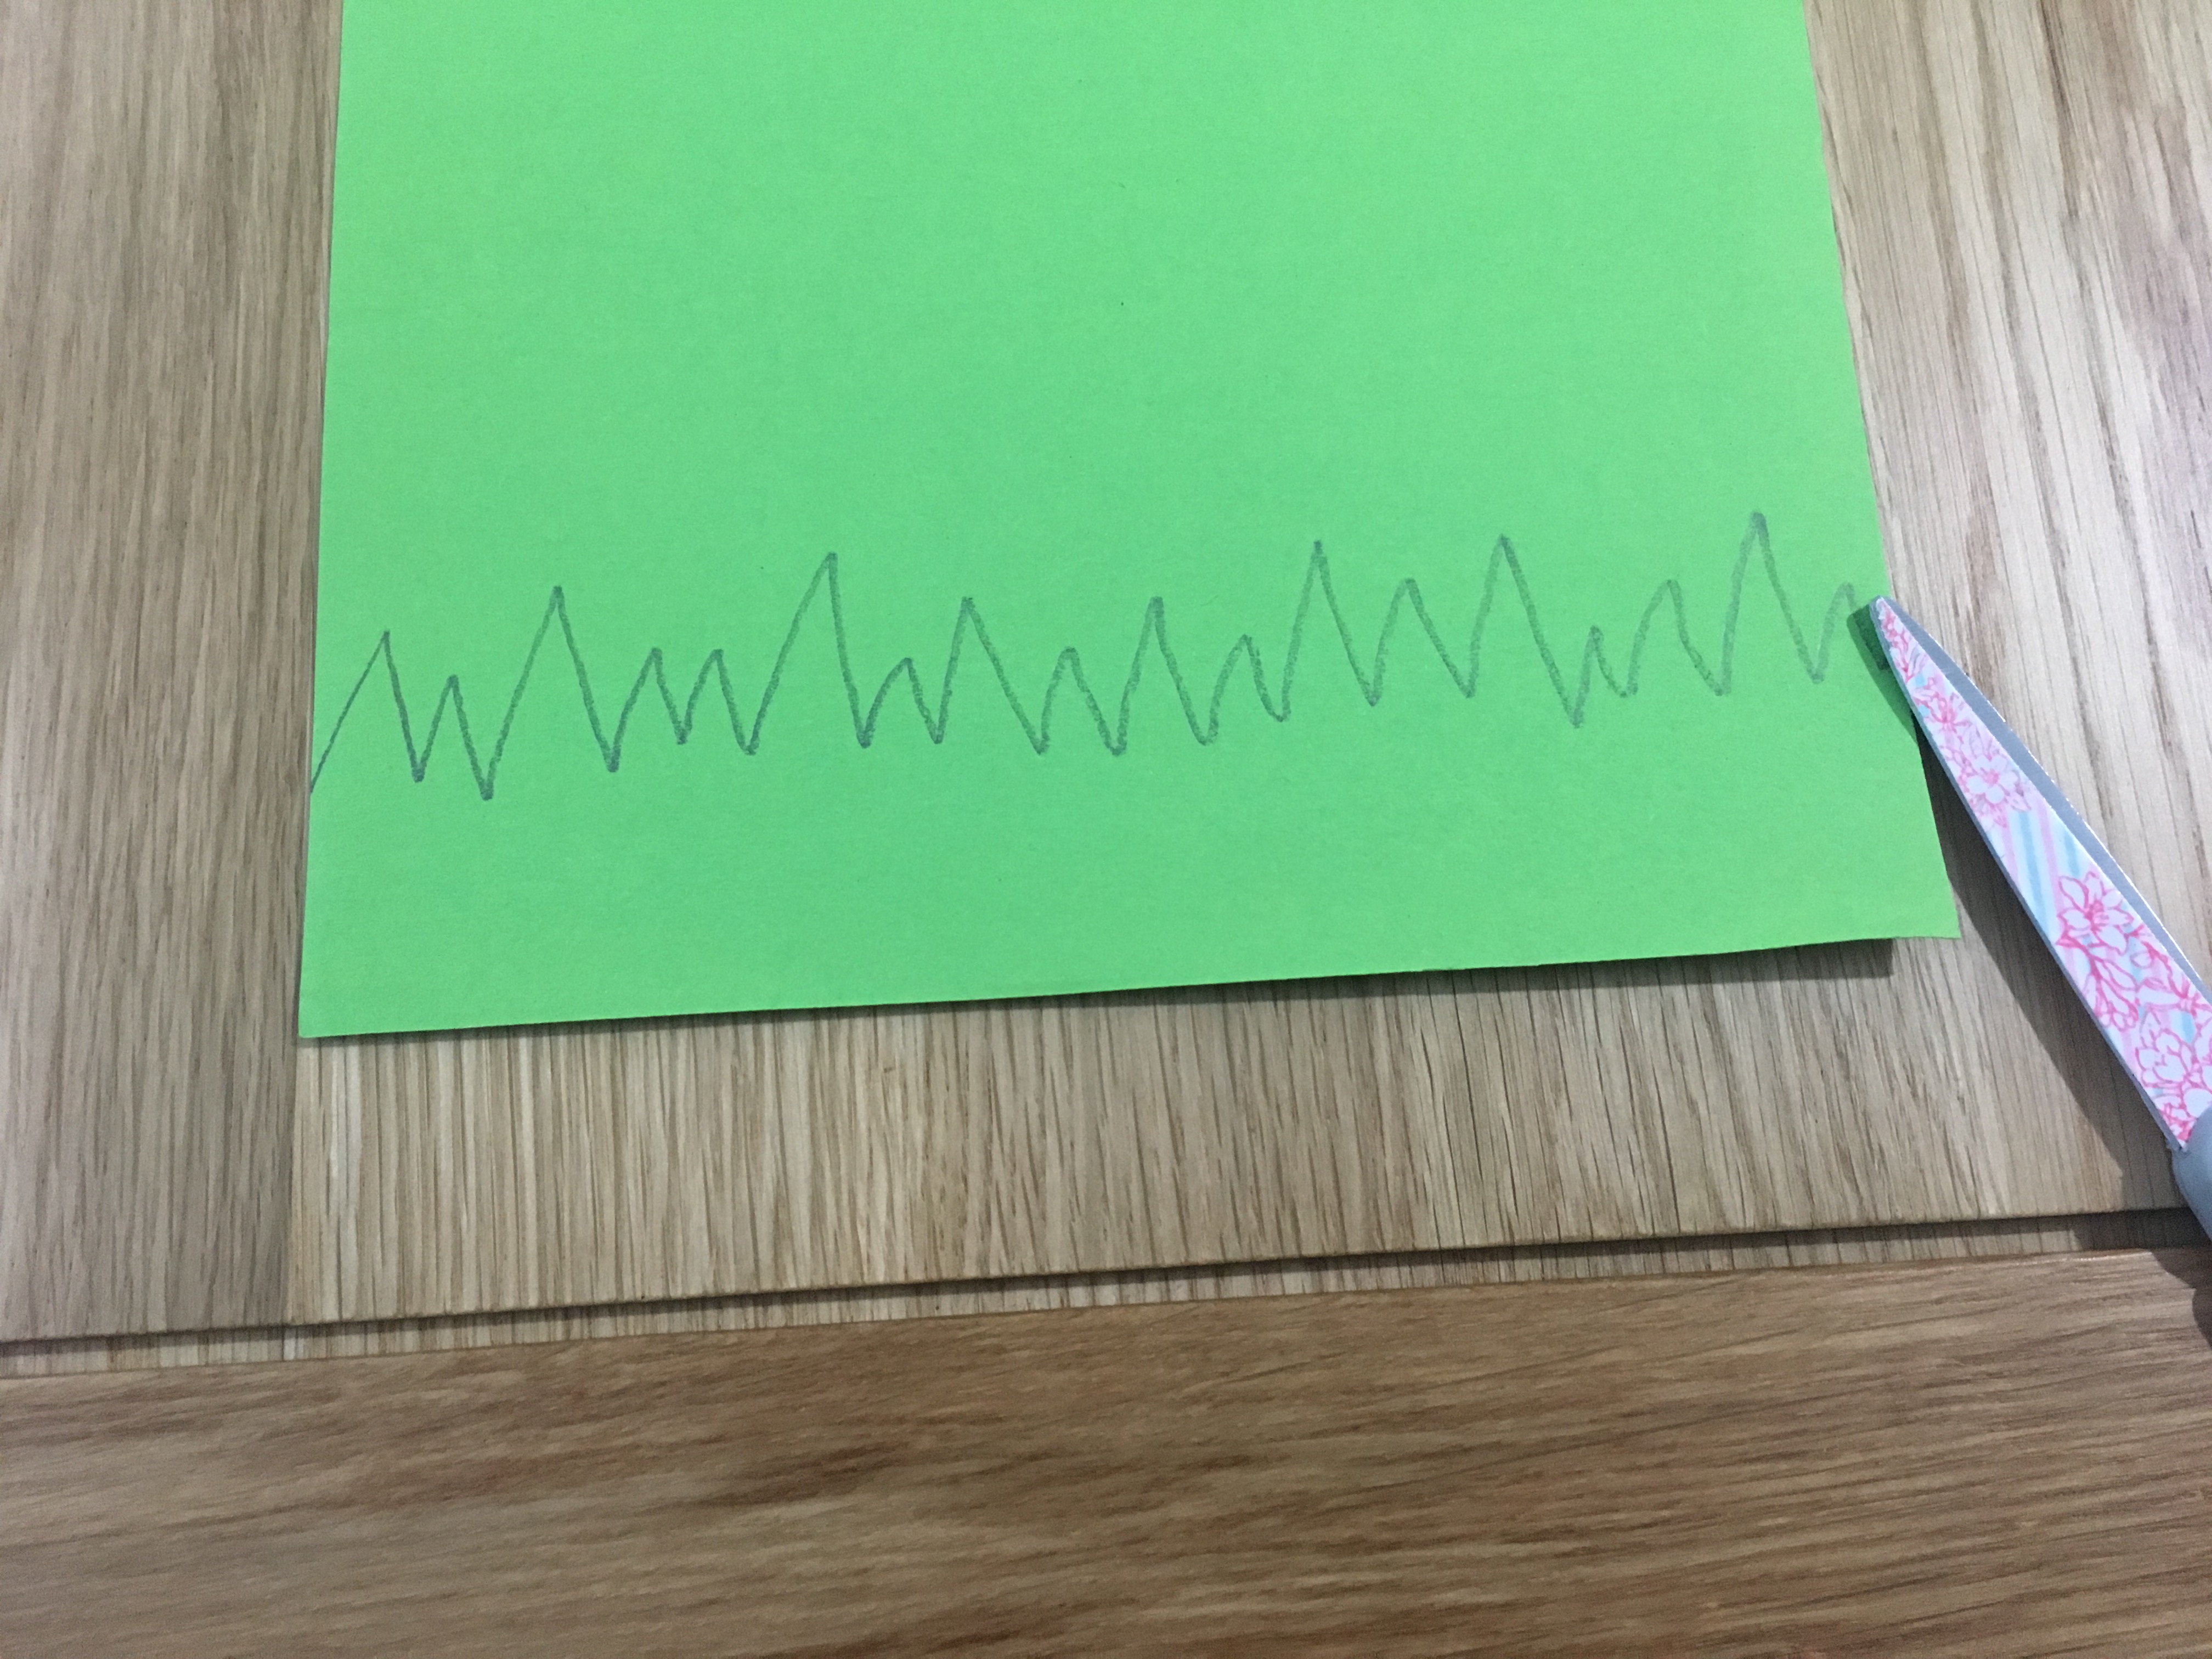
Step 8: Now it’s time to decorate! For this card, we will make the grass pop up. Draw some zig zags on another piece of paper/card and cut out. (Tip: You can do this step twice to add another layer of grass and make it look more 3D!)
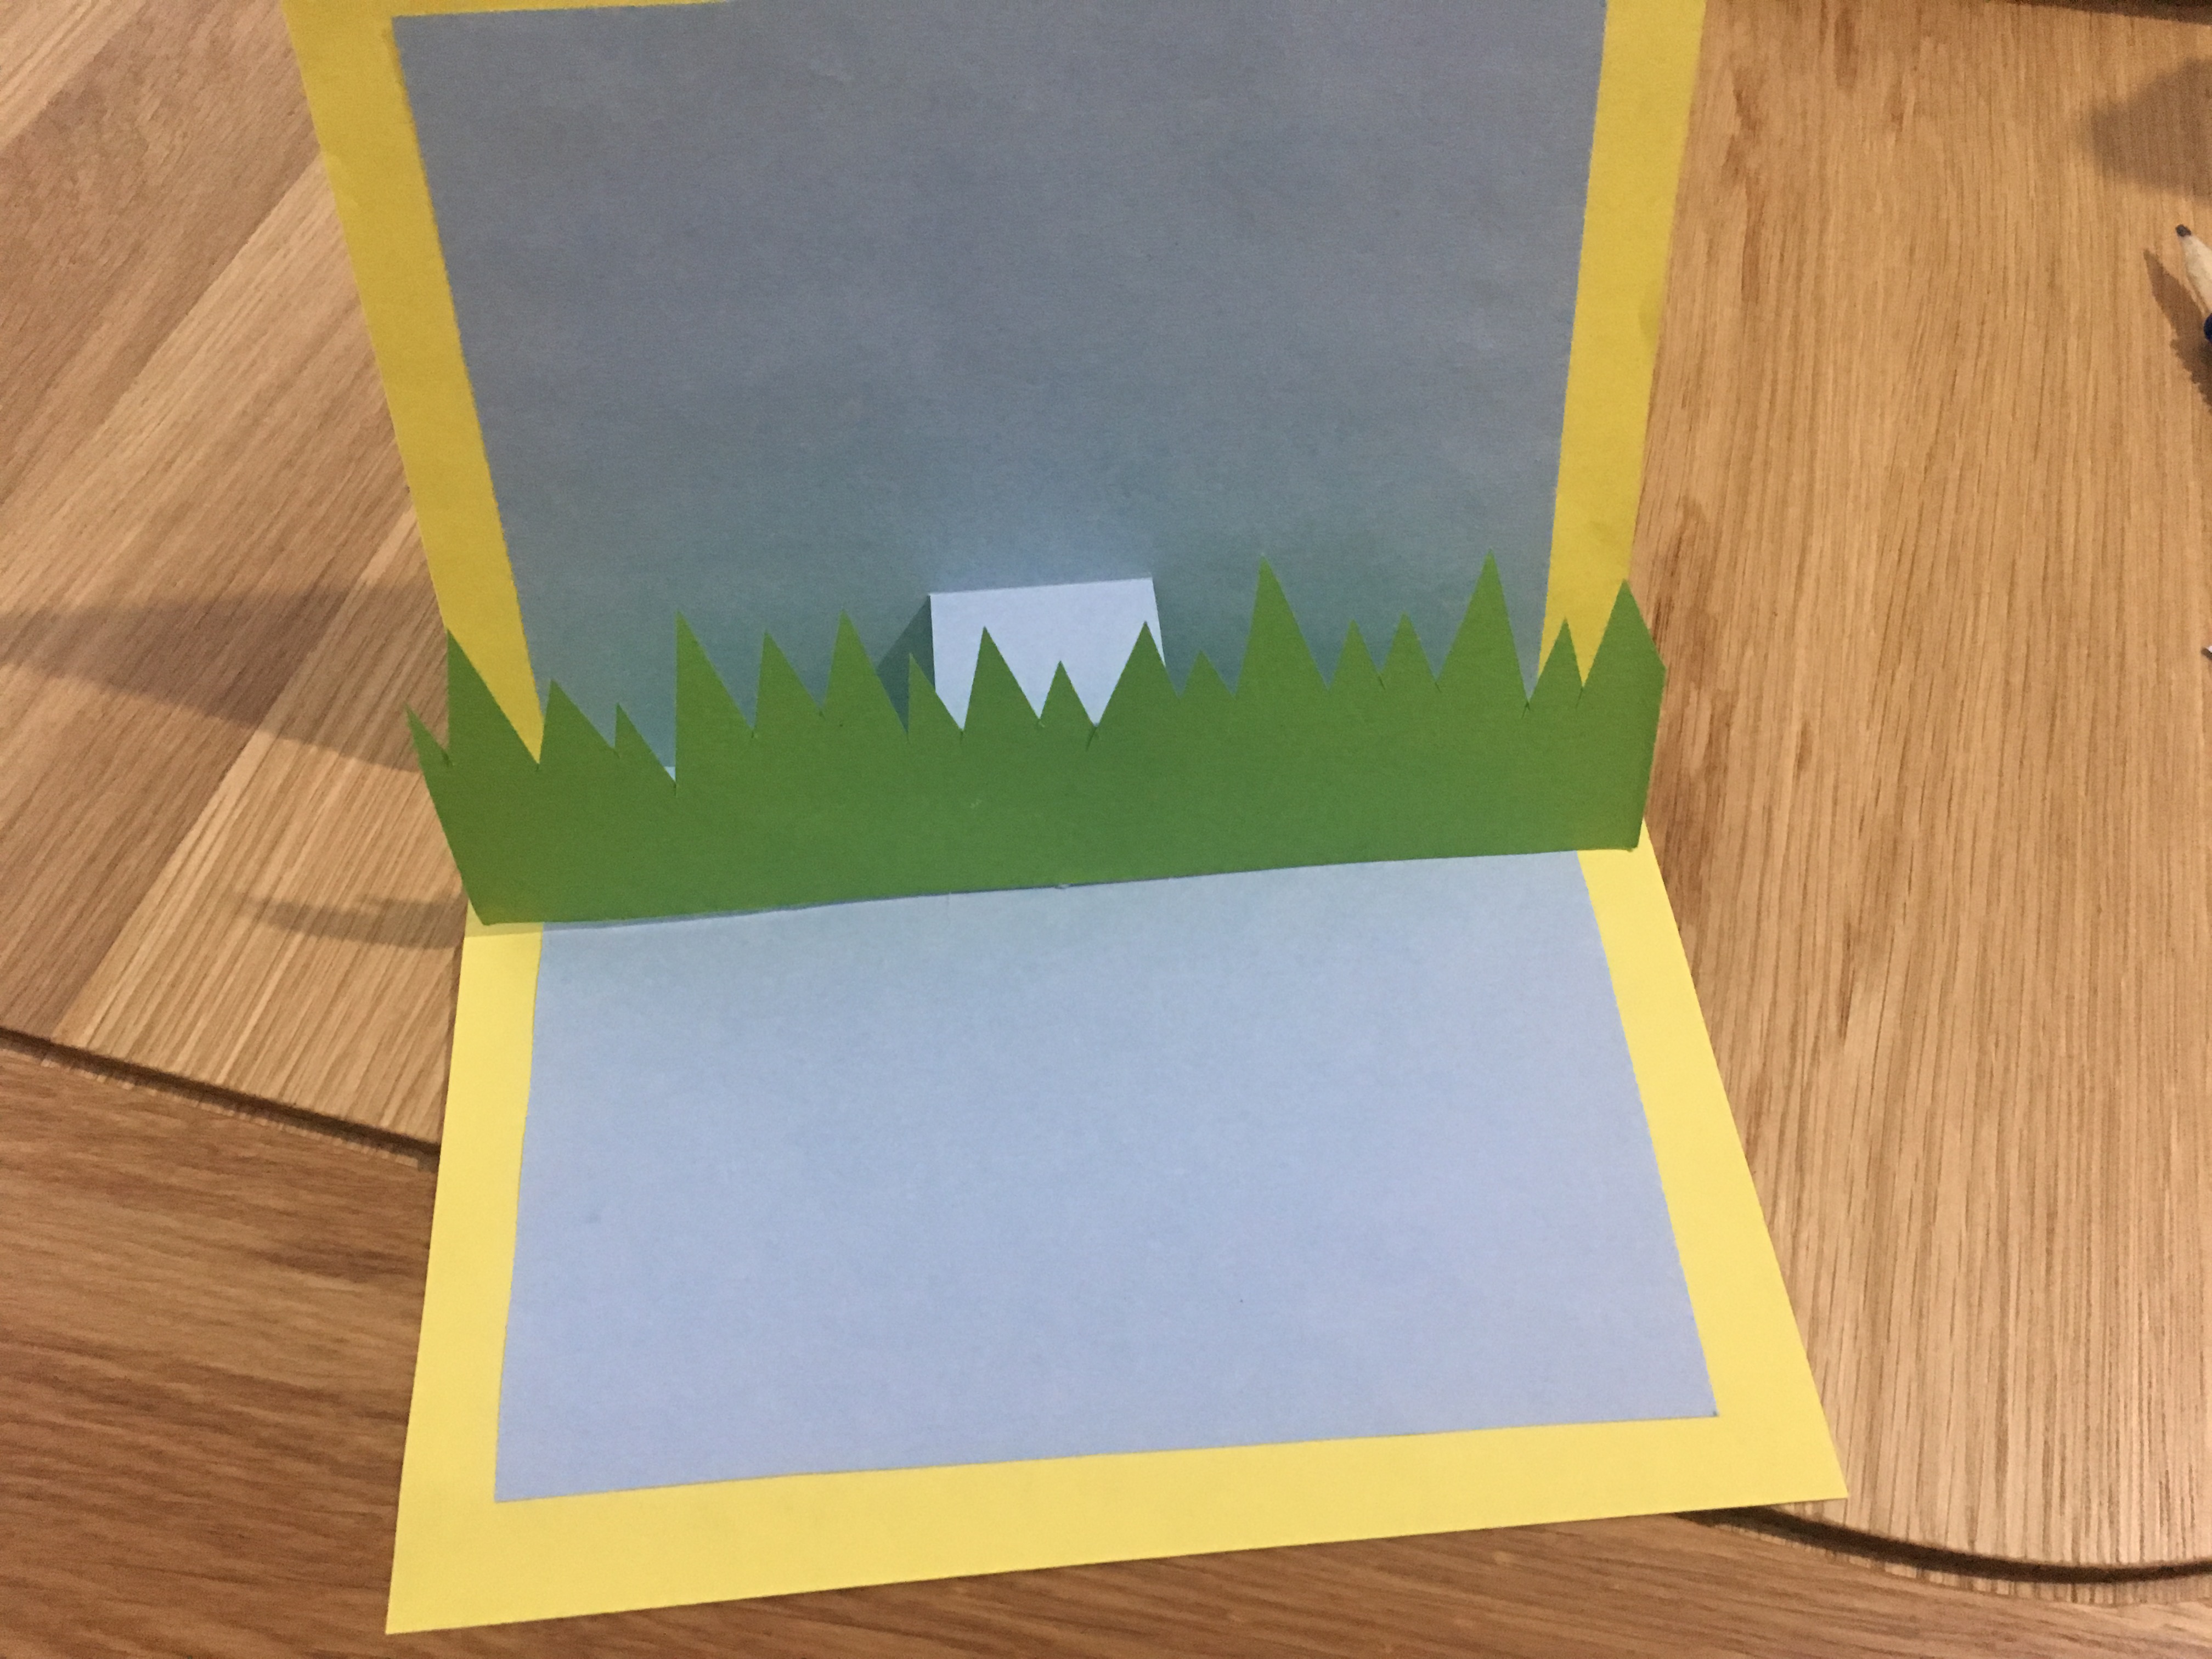
Step 9: Stick the grass to one side of the flap in the card.
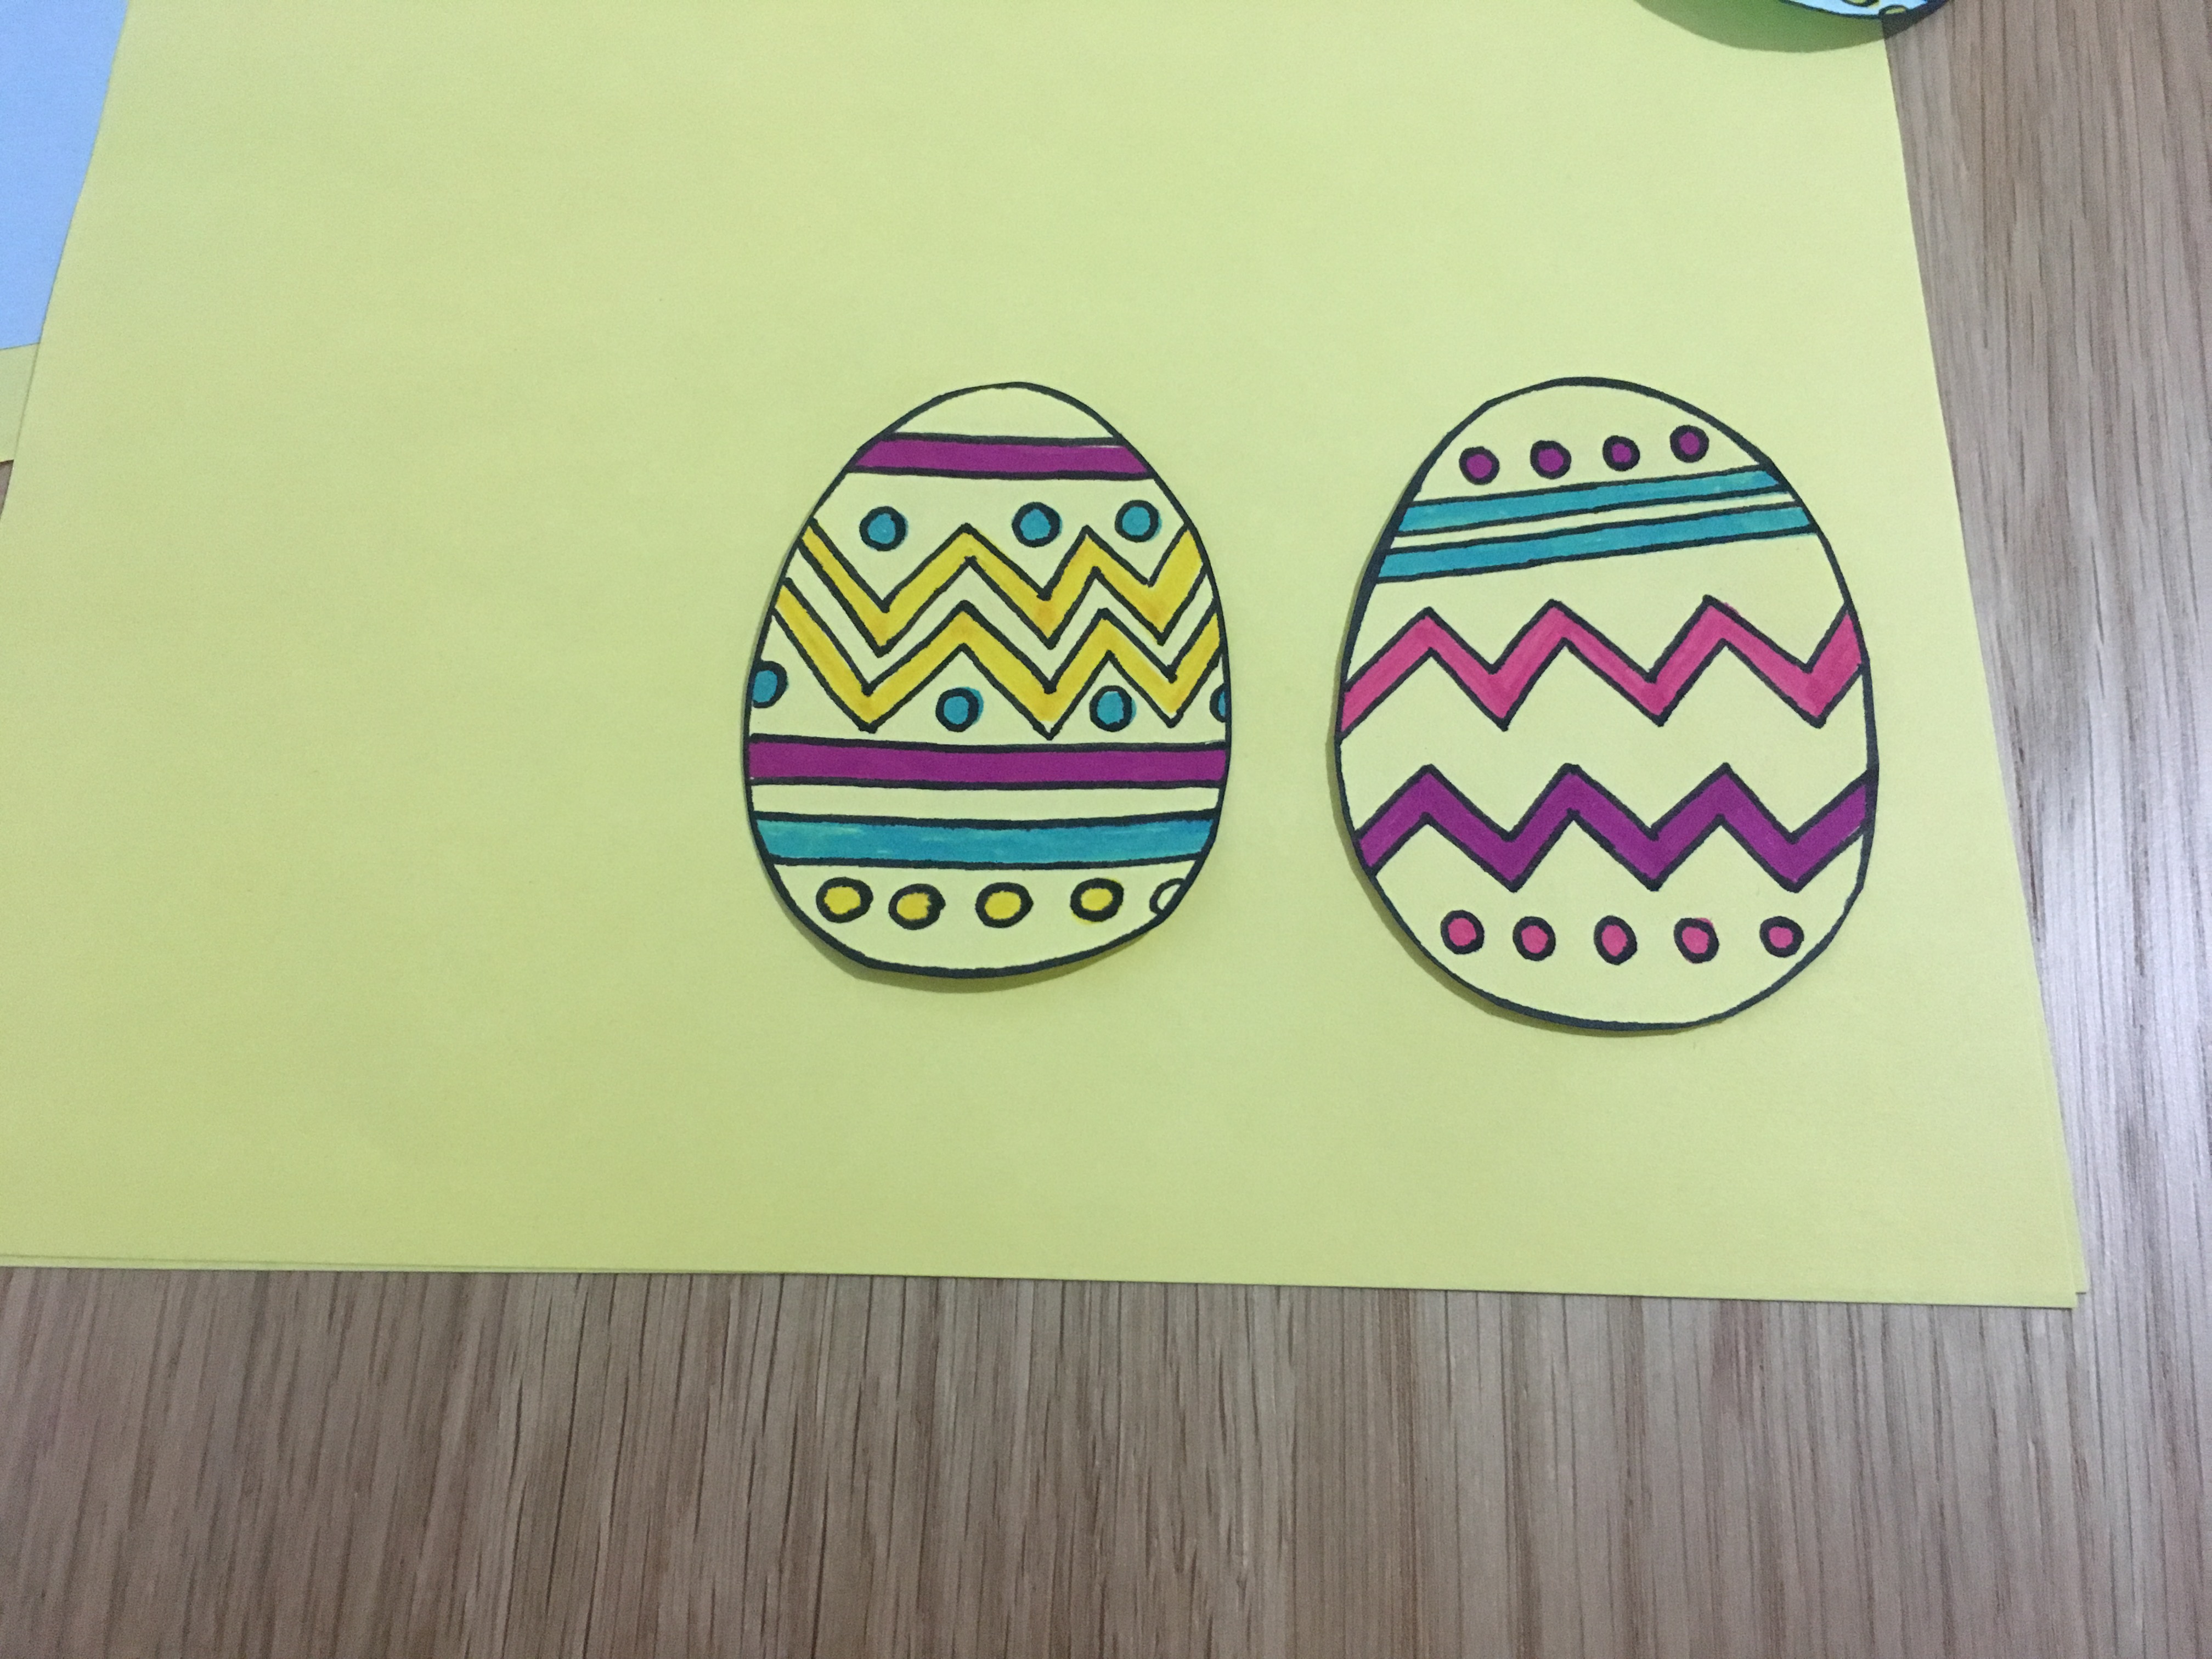
Step 10: Now it’s time to get creative and draw some Easter decorations. You could choose: Easter eggs, flowers, rabbits, chicks… Draw them straight onto the card or on separate paper, then cut and stick them into the card.
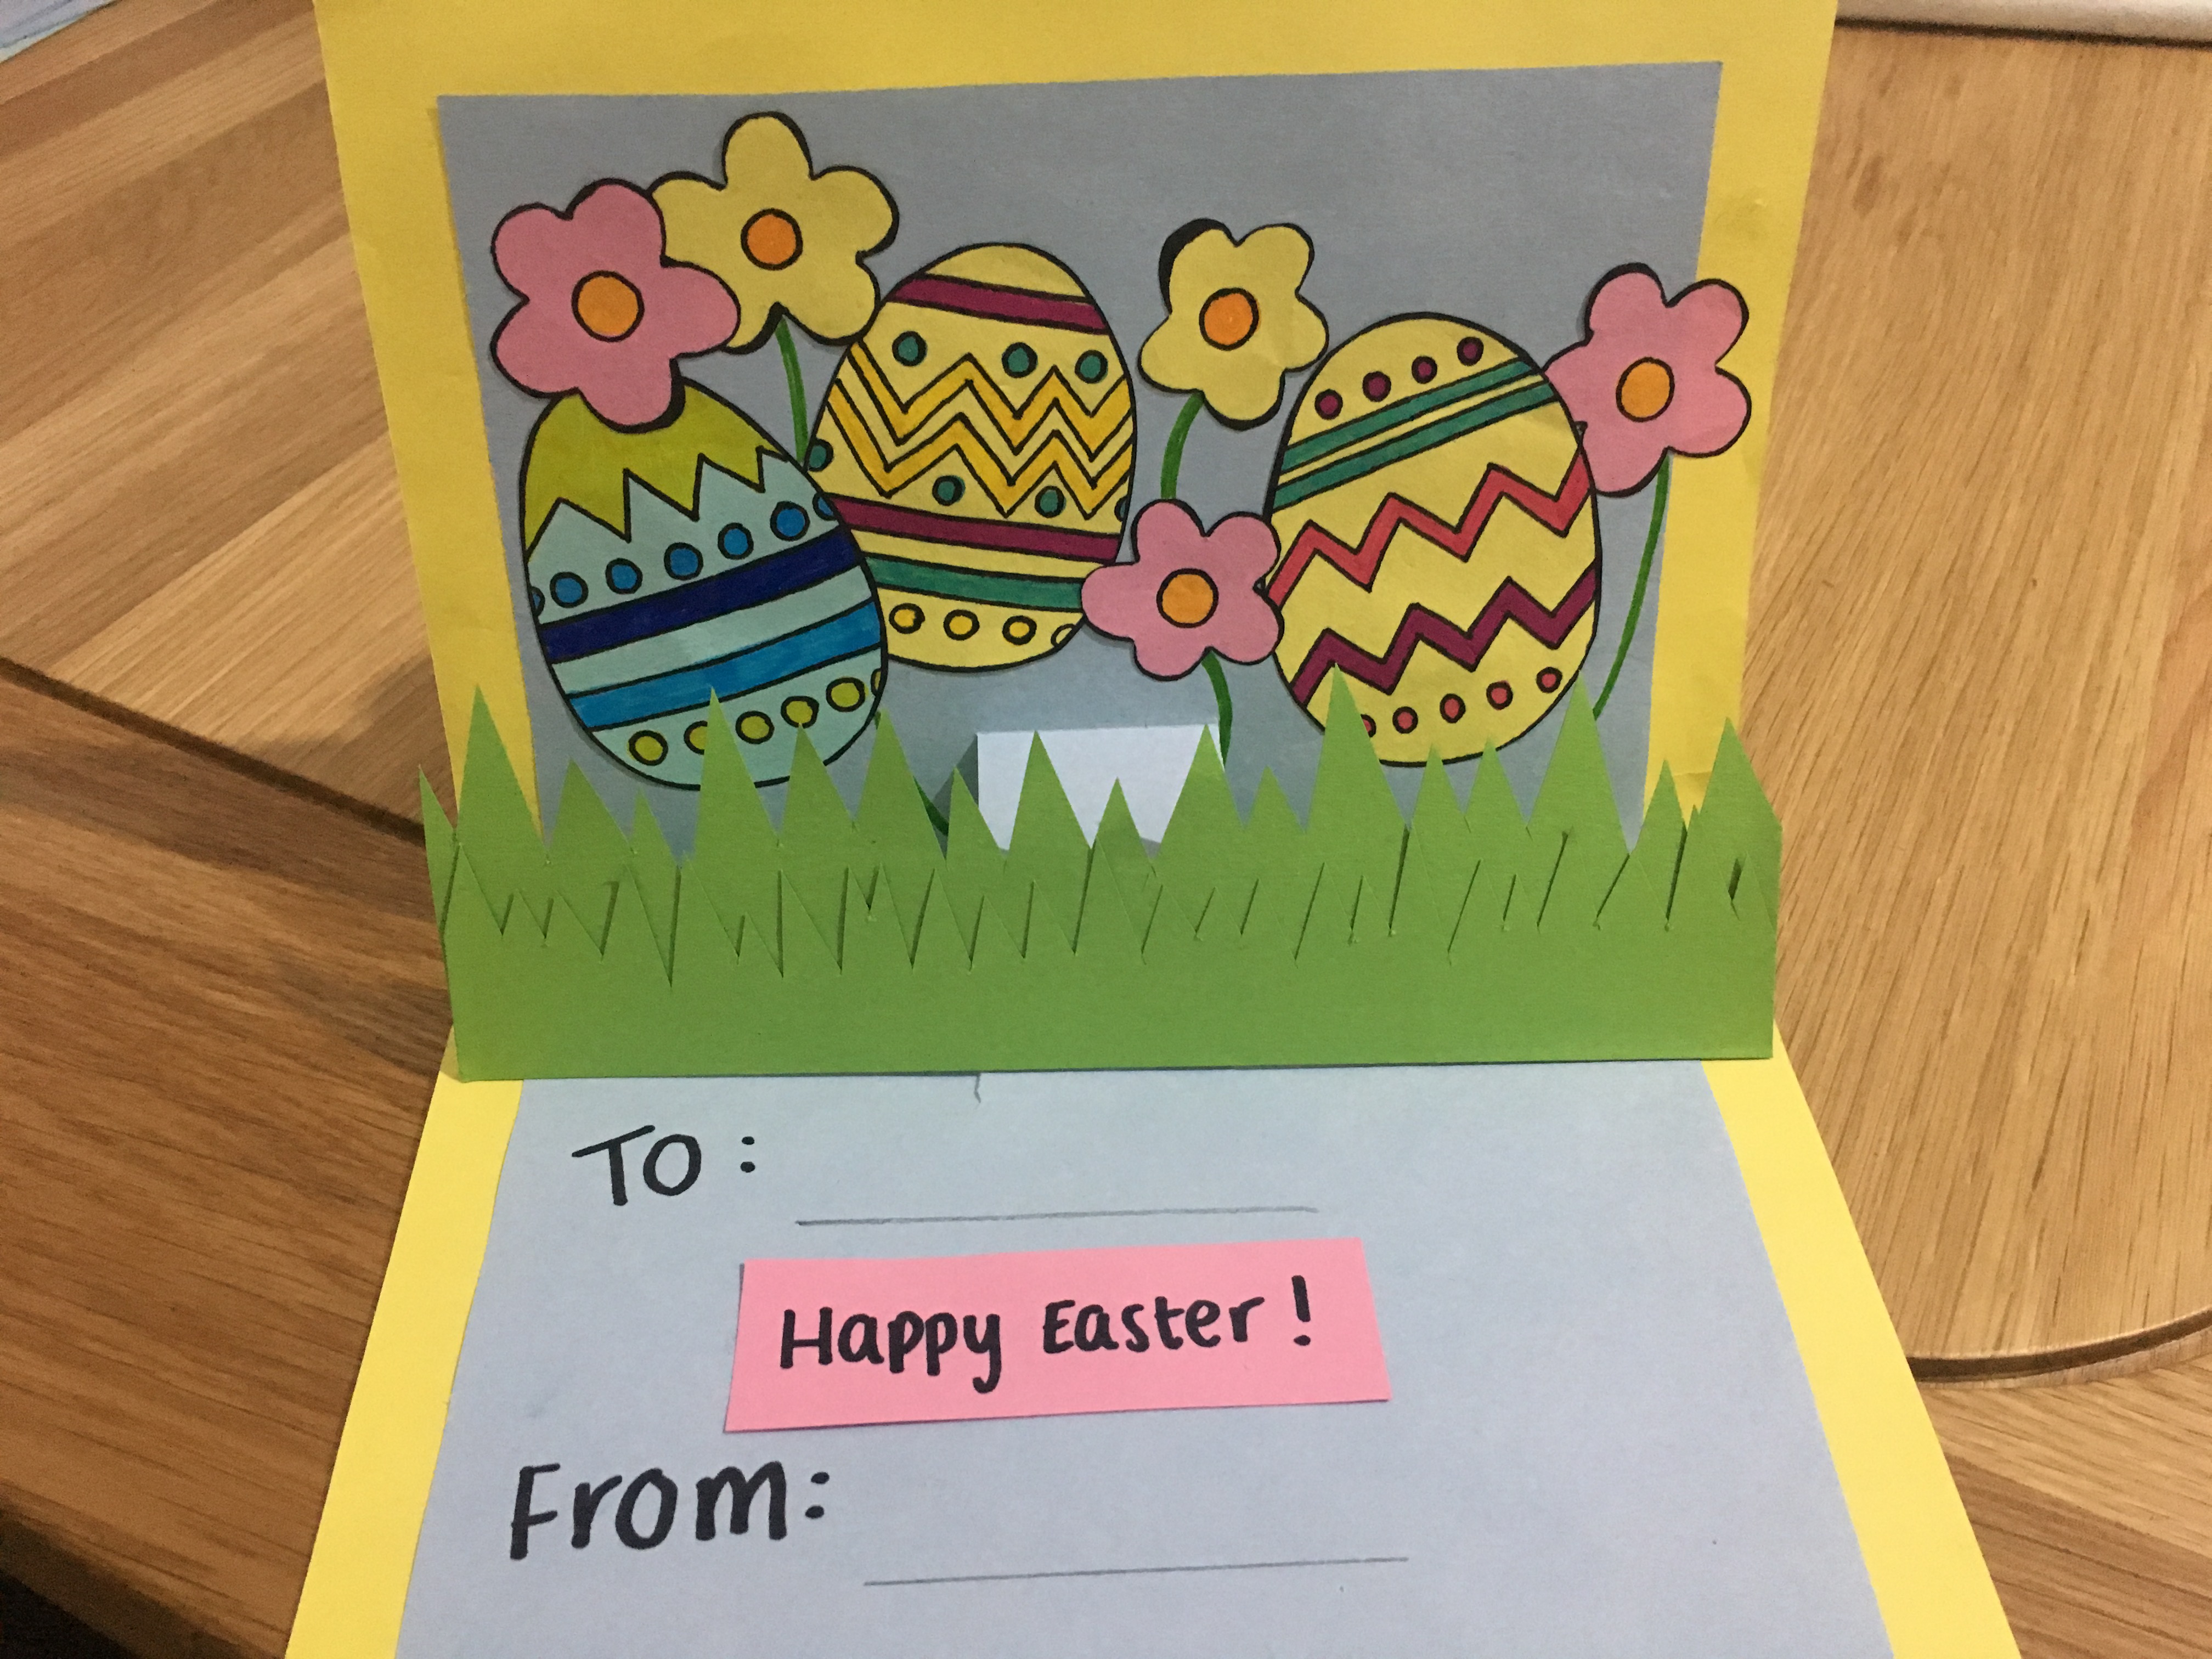
Step 11: Who are you sending your card to? In the free space below your artwork write who the card is ‘to’ and ‘from’, and of course – Happy Easter! Remember to decorate the front of the card too, you can even make an envelope if you would like.


